
Image: Isometric Standoff in Gael Tunnel
Published: January 14, 2026 at 7:33:54 PM UTC
Last updated: January 14, 2026 at 7:35:43 PM UTC
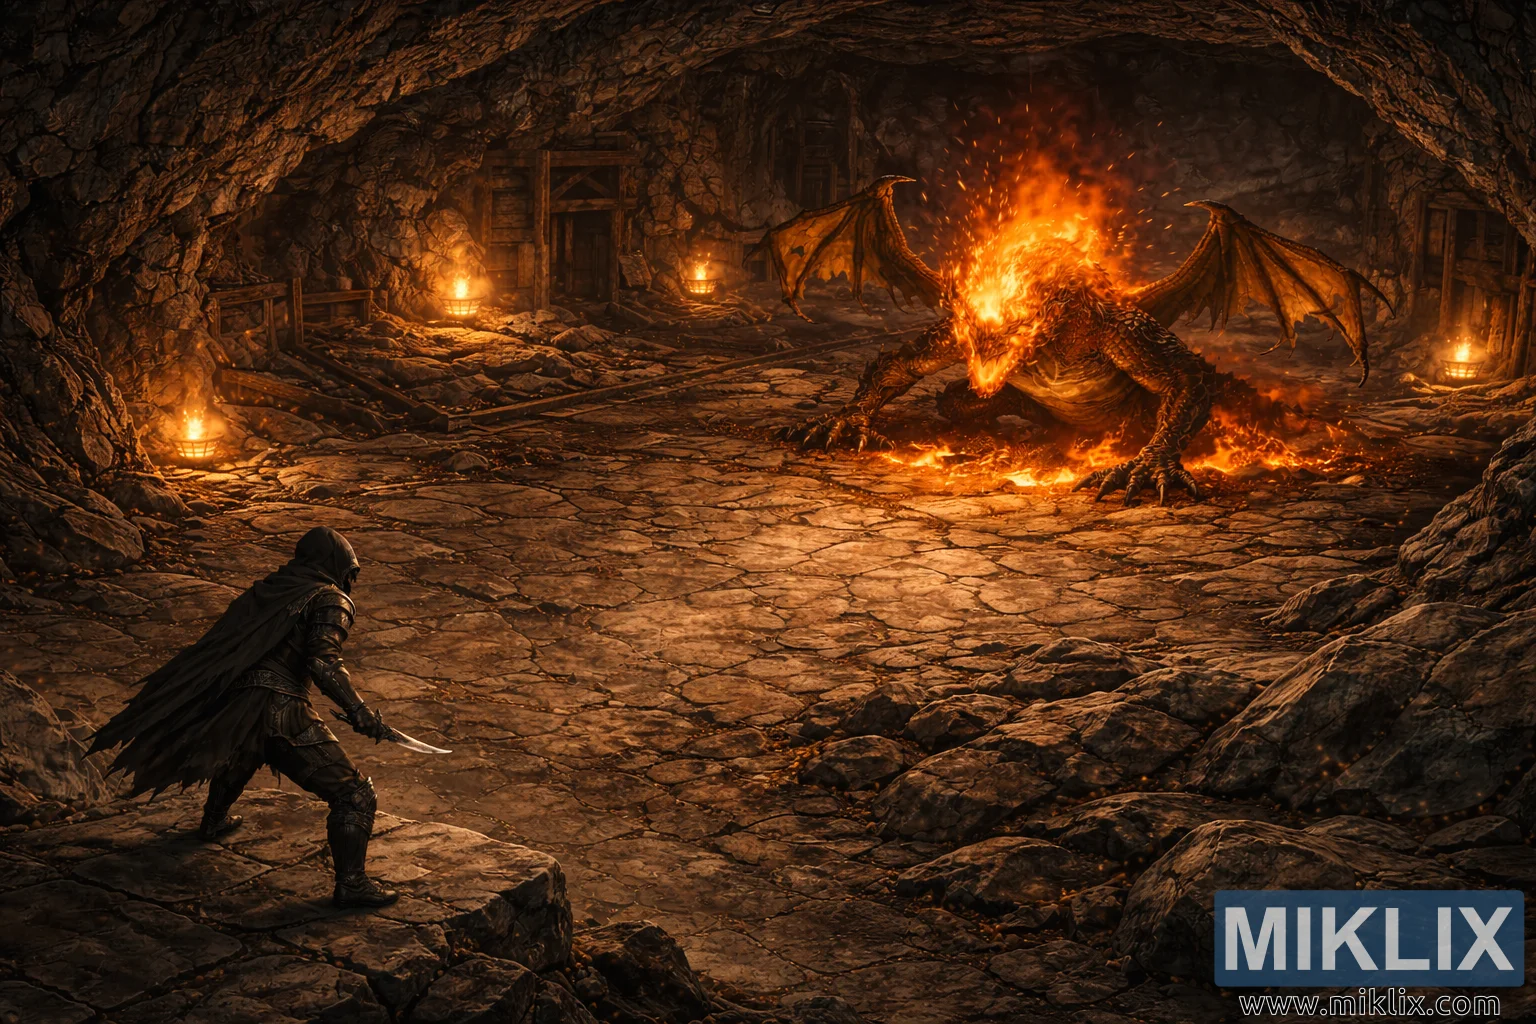
High-angle isometric fantasy artwork showing the Tarnished confronting the Magma Wyrm in Elden Ring’s Gael Tunnel, emphasizing the vast arena and tense calm before battle.

Available versions of this image
The image files available for download below are less compressed and higher resolution - and as a result of that, higher quality - than the images embedded in articles and pages on this website, which are more optimized for file size in order to reduce bandwidth consumption.
Regular size (1,536 x 1,024)
Large size (3,072 x 2,048)
Very large size (4,608 x 3,072)
Extra large size (6,144 x 4,096)
Comically large size (1,048,576 x 699,051)
- Still uploading... ;-)
Image description
This illustration presents an elevated, isometric view of a vast chamber deep within Gael Tunnel, offering a strategic, almost map-like perspective of a looming confrontation. The camera is pulled back and angled downward, revealing the circular arena carved from rough stone and scarred by magma flows. At the lower left of the frame stands the Tarnished, a small but resolute figure against the enormity of the cavern. The warrior is cloaked in the dark, finely etched Black Knife armor, the hood casting the face into shadow. From this distance the Tarnished appears compact and poised, feet planted on cracked flagstones, one arm extended with a curved dagger that glints faintly in the reflected firelight. The long cape trails behind, forming a sharp silhouette against the warm glow of the cavern floor.
Dominating the upper right quadrant is the Magma Wyrm, a massive, furnace-like creature coiled amid bubbling lava pools. Its body radiates heat, with basalt-black scales fractured by glowing seams of orange and gold. From above, the pattern of its molten veins is clearly visible, like cracks in cooling rock. The wyrm’s head burns brightest, crowned in roaring flames that send sparks drifting upward into the smoky air. Its torn wings are spread unevenly, creating a menacing, jagged outline against the cavern wall, while its foreclaws are buried in magma that spills outward in slow, incandescent streams.
The expanded view reveals the full environment of the forgotten mine. The chamber is ringed by uneven rock walls reinforced by wooden beams, mine doors, and decaying scaffolds. Rusted rails curve across the floor and vanish into shadowed side passages. Iron braziers are mounted along the perimeter, each casting a small, steady pool of light that is nearly swallowed by the wyrm’s inferno. Smoke, dust, and glowing embers drift through the upper air, softening the edges of the ceiling and giving the scene a layered depth.
From this high vantage point, the space between Tarnished and wyrm feels vast, a broad arena of cracked stone and molten fissures that underscores the imbalance of scale. The Tarnished appears almost fragile compared to the blazing titan across the floor, yet the stance is unwavering. Nothing has moved yet. The wyrm hunches in simmering readiness, and the Tarnished leans forward into the open space between them. It is a suspended moment of dread and determination, where the cavern itself seems to hold its breath before the first violent clash.
The image is related to: Elden Ring: Magma Wyrm (Gael Tunnel) Boss Fight