
Image: Hop Addition Timing During the Brewing Process
Published: October 1, 2026 at 4:38:59 PM UTC
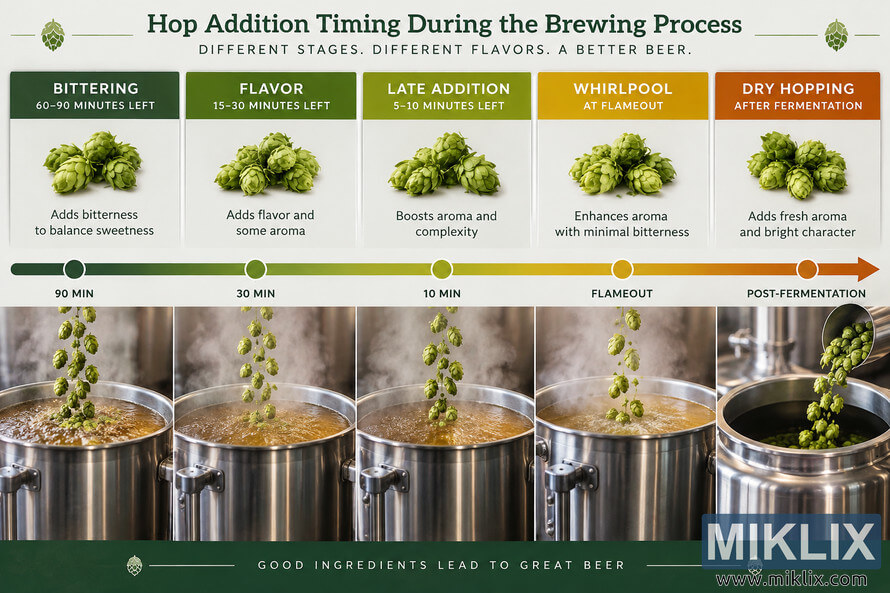
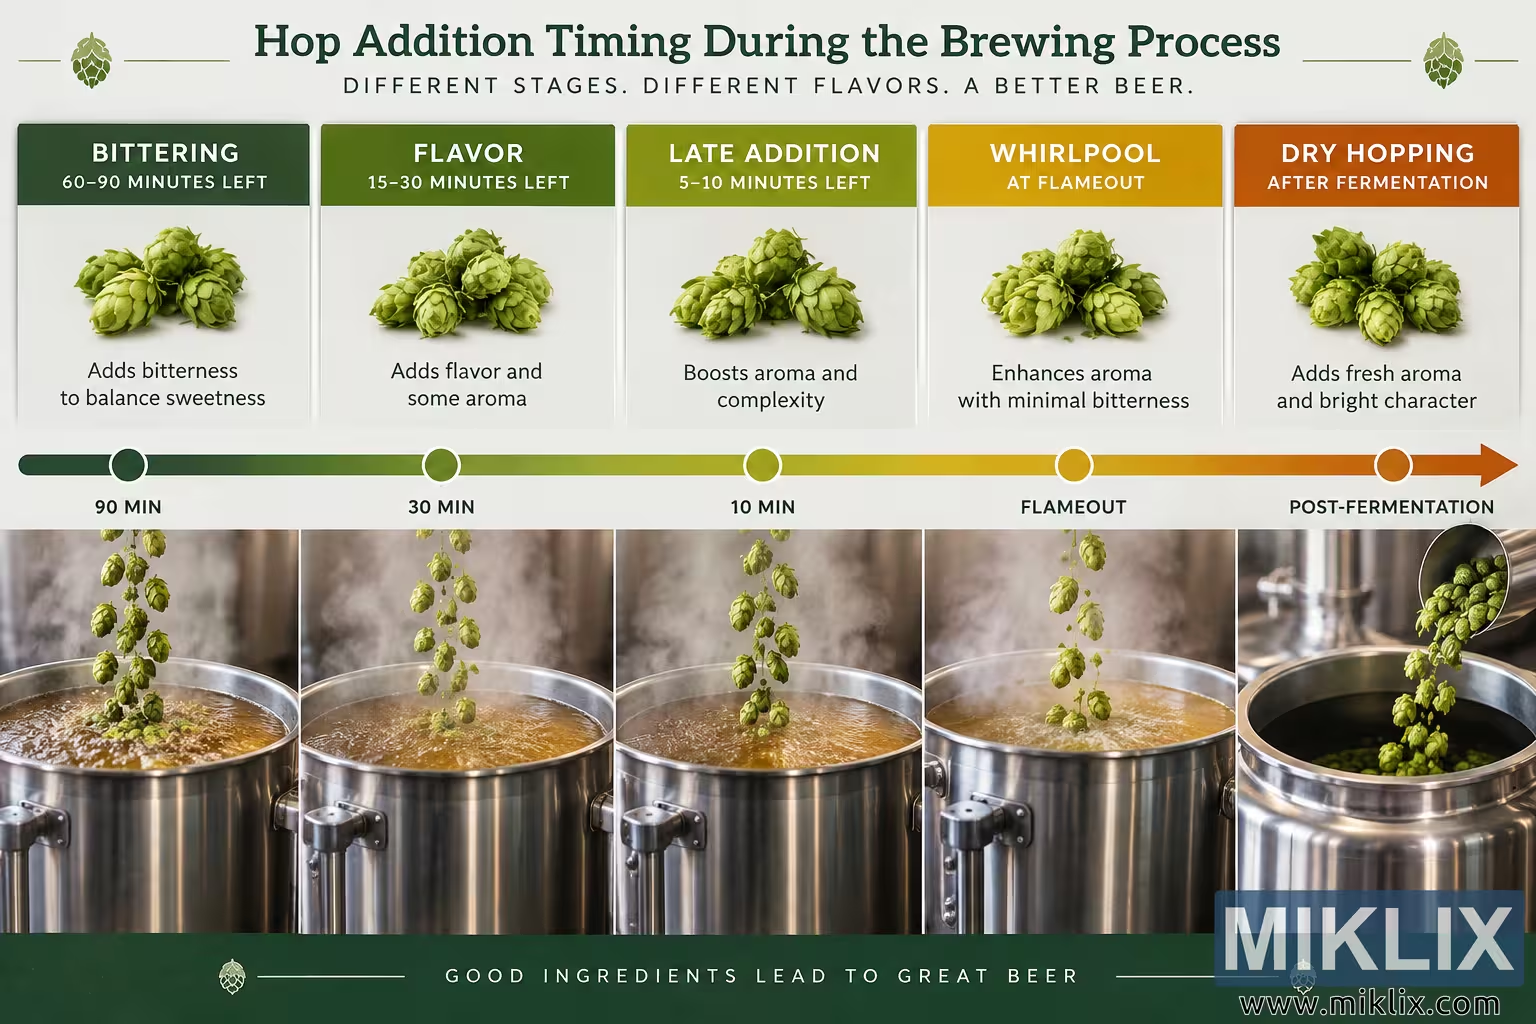
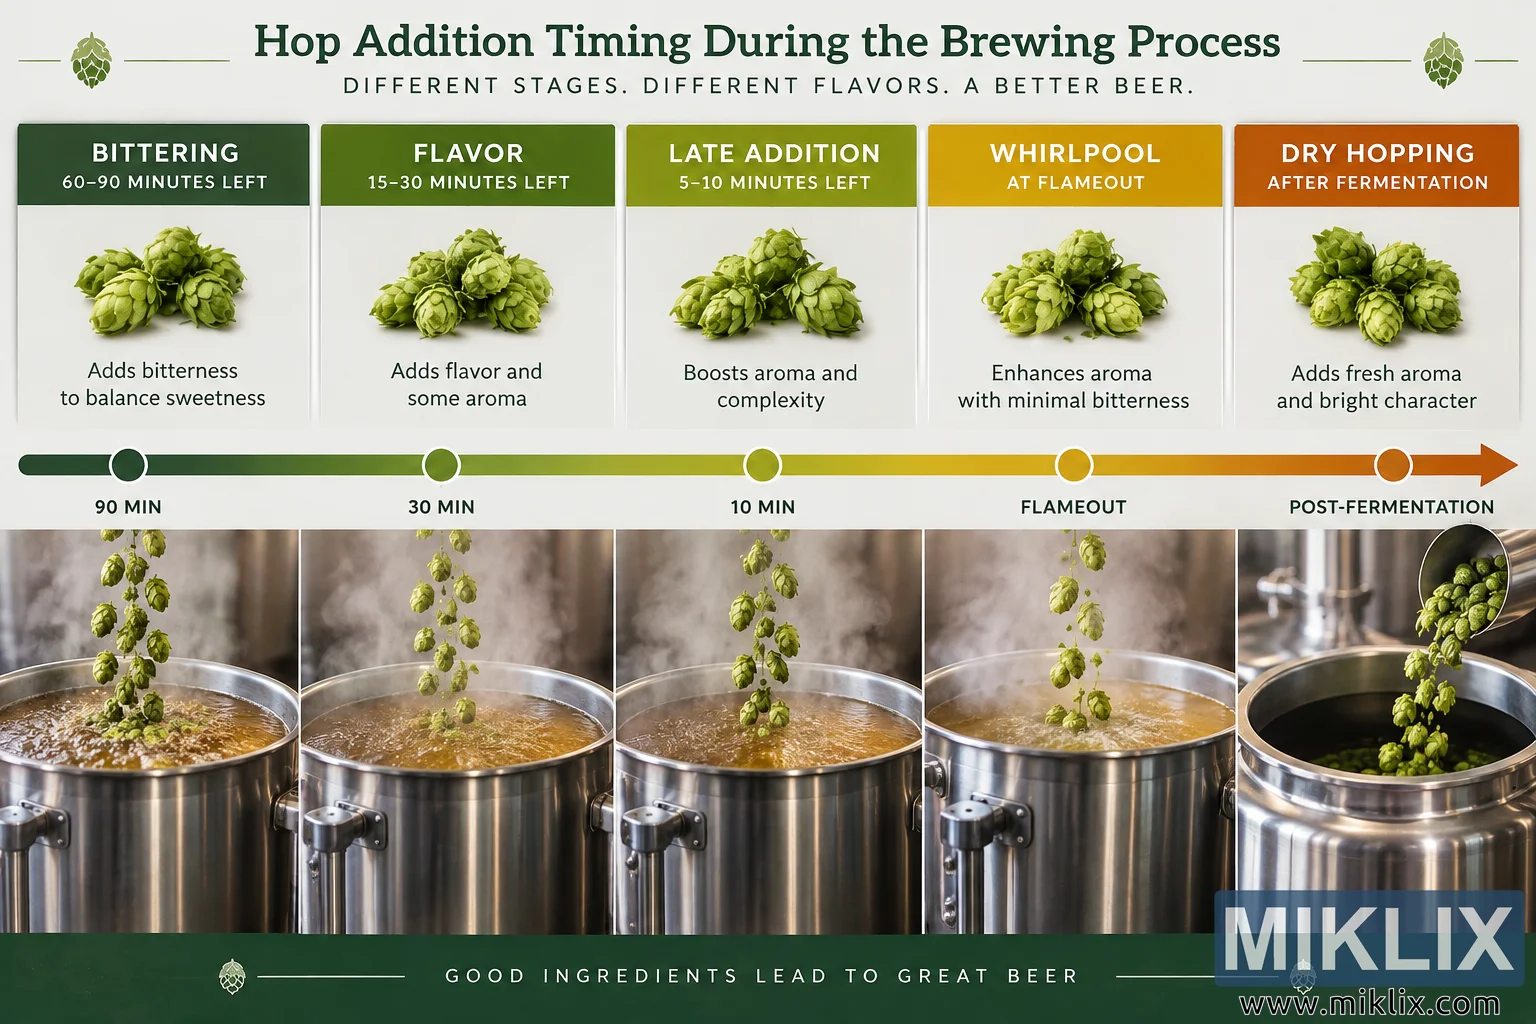
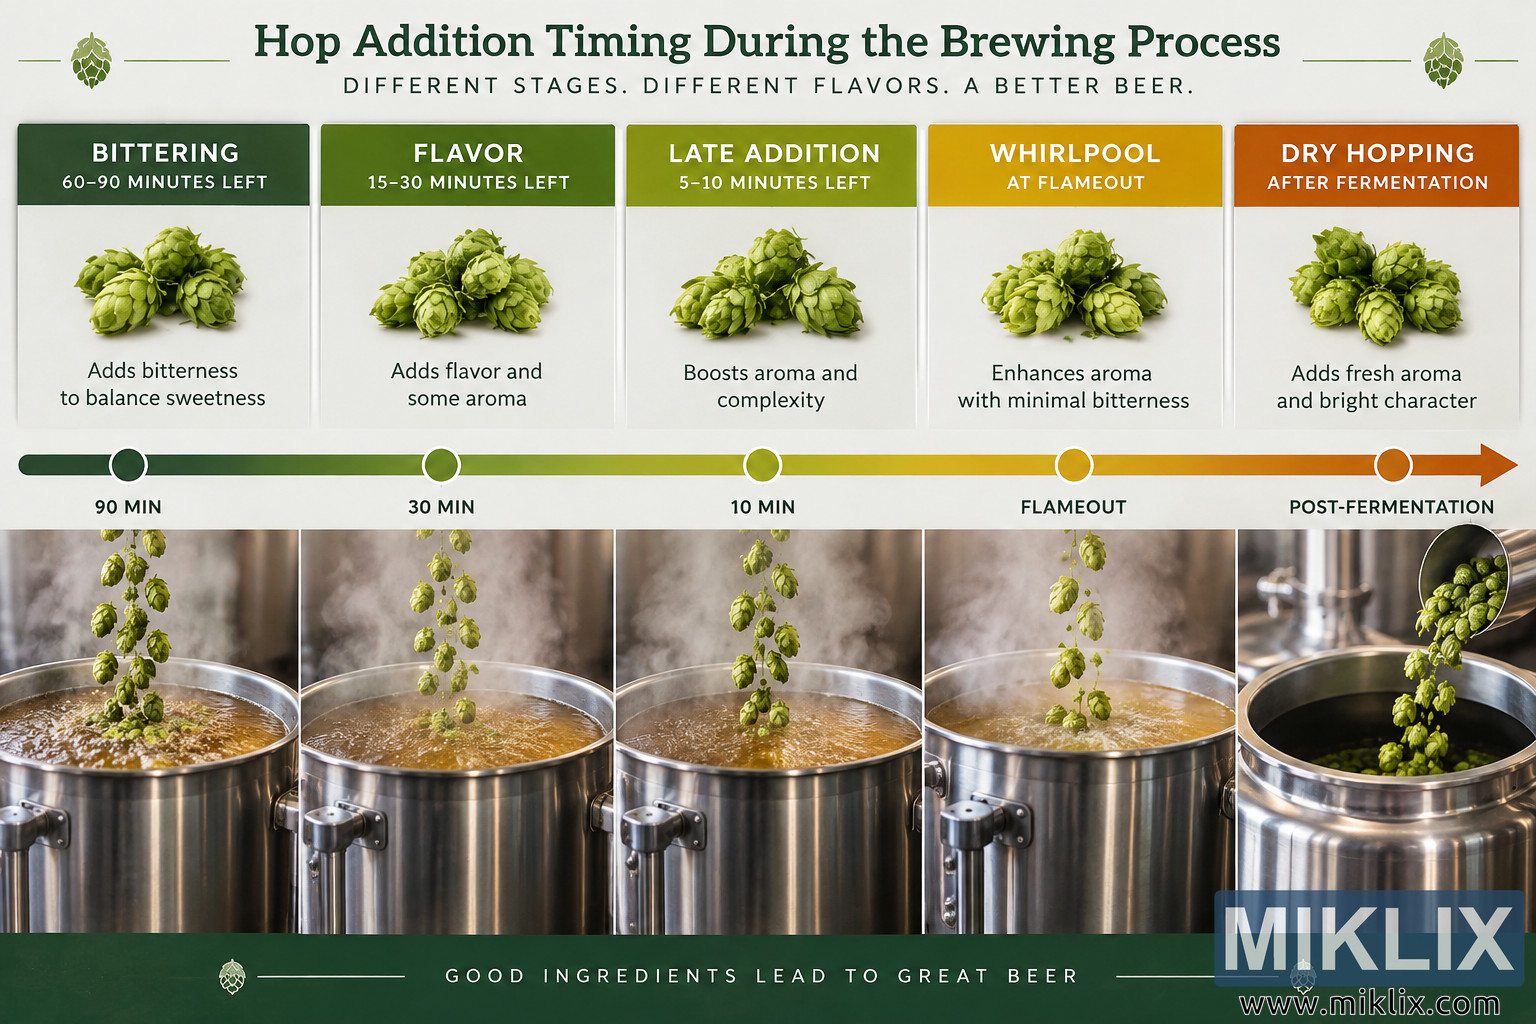
Educational hop addition timing chart illustrating bittering, flavor, late-boil, whirlpool, and dry-hopping stages and how each contributes bitterness, flavor, complexity, or aroma to beer.
Available versions of this image
The image files available for download below are less compressed and higher resolution - and as a result of that, higher quality - than the images embedded in articles and pages on this website, which are more optimized for file size in order to reduce bandwidth consumption.
Regular size (1,536 x 1,024)
Large size (3,072 x 2,048)
Very large size (4,608 x 3,072)
Extra large size (6,144 x 4,096)
Comically large size (1,048,576 x 699,051)
- Still uploading... ;-)
Image description
A wide, landscape-format educational infographic presents a visual timing chart for hop additions during the beer brewing process. The overall design combines clean informational graphics with realistic brewery photography, using a natural palette that progresses from dark green through lighter green and golden yellow to warm orange. The composition is organized horizontally from left to right so that the viewer can immediately understand the sequence of hop additions as brewing progresses. No commercial brands, logos, product names, or branded packaging are visible anywhere in the image.
At the top of the image, a large dark-green headline reads “Hop Addition Timing During the Brewing Process.” Small illustrated hop cones appear as decorative elements near both sides of the heading, accompanied by thin horizontal lines. Directly underneath is a widely spaced uppercase subtitle reading “Different Stages. Different Flavors. A Better Beer.” This establishes the image as an educational guide explaining how the timing of hop additions influences the characteristics of the finished beer.
The main information area is divided into five vertical sections arranged chronologically. Each section contains a colored header, a photograph-like cluster of fresh green hop cones, a concise explanation of the purpose of that addition, a position on the central timeline, and a corresponding brewing photograph below. The color of each section gradually changes as the timeline advances, reinforcing the progression through the brewing process.
The first section, on the far left, is labeled “Bittering” in a dark forest-green header. Beneath the heading is the timing guidance “60–90 minutes left.” A realistic pile of green hop cones appears against a clean, light background. The explanatory text states that this addition “Adds bitterness to balance sweetness.” Below this section, the timeline marker reads “90 MIN.” The photographic panel underneath shows green hops falling into a large stainless-steel brewing kettle filled with actively boiling amber-colored wort. Steam rises from the kettle, creating a warm, authentic brewery atmosphere. This stage visually communicates an early hop addition made during a substantial portion of the boil, when hop bitterness is emphasized.
The second section is labeled “Flavor” and uses a brighter green header. Its timing is identified as “15–30 minutes left.” Another cluster of fresh hop cones appears below the heading, followed by the explanation “Adds flavor and some aroma.” Its timeline position is marked “30 MIN.” The photograph beneath again shows hops descending into a stainless-steel kettle of boiling wort, with abundant steam surrounding the hops and the upper rim of the vessel. This stage illustrates an addition later in the boil, intended to retain more hop flavor and aromatic character than the earliest bittering addition.
The center section is labeled “Late Addition” and uses a yellow-green header. The timing guidance reads “5–10 minutes left.” Below a pile of hop cones, the text explains that this stage “Boosts aroma and complexity.” The central timeline marker reads “10 MIN.” In the lower photographic panel, hops fall into a steaming kettle near the end of the boil. The visual similarity between the first three kettle scenes creates continuity, while their positions along the timeline clarify that the primary difference is the timing of the addition. This central stage represents the transition from additions focused substantially on bitterness and flavor toward additions increasingly intended to preserve aromatic hop compounds.
The fourth section is labeled “Whirlpool” in a golden-yellow header and specifies “At flameout.” A realistic group of green hop cones appears beneath the heading, followed by the phrase “Enhances aroma with minimal bitterness.” Its timeline marker is labeled “FLAMEOUT.” The lower photograph shows hops dropping into hot golden wort in a stainless-steel vessel with visible steam. This section communicates that hops can be introduced after the active boil has ended, allowing substantial aromatic extraction while limiting the additional bitterness associated with prolonged boiling.
The fifth and final section, at the far right, is labeled “Dry Hopping” in a warm orange header. Its timing is given as “After fermentation.” Below the header is another cluster of green hop cones, followed by the explanation “Adds fresh aroma and bright character.” The timeline beneath this section is labeled “POST-FERMENTATION.” In the corresponding photographic panel, hops are poured from a metal scoop into the open top of a stainless-steel brewing or fermentation vessel. Unlike the preceding images, the liquid is not shown vigorously boiling, visually distinguishing dry hopping from additions made to hot wort. The scene emphasizes the use of hops later in production to contribute fresh aromatic qualities.
Running horizontally through the middle of the infographic is a prominent timeline that visually connects all five stages. It begins in dark green on the left and gradually transitions through green and yellow into orange on the right. Circular markers identify the major reference points: 90 minutes, 30 minutes, 10 minutes, flameout, and post-fermentation. The line ends in a large arrow pointing to the right, clearly indicating chronological progression. This central device makes the image function as a practical timing chart rather than merely a collection of brewing photographs.
The bottom half of the image consists largely of five adjoining realistic brewery scenes featuring polished stainless-steel vessels, amber or golden wort, green hops, and clouds of steam. Metallic reflections on the kettles contrast with the organic textures and vivid green color of the hops. The warm brewing liquid and industrial stainless steel give the infographic a professional craft-brewery appearance without depicting any identifiable commercial equipment manufacturer or beverage brand.
A deep green footer spans the full width of the image. Centered within it, widely spaced white uppercase lettering reads “GOOD INGREDIENTS LEAD TO GREAT BEER.” Decorative hop symbols and thin horizontal lines appear on either side, visually echoing the ornamental elements around the main heading. Overall, the image is a polished, high-resolution educational brewing infographic that explains five common stages for adding hops: bittering additions early in the boil, flavor additions later in the boil, late additions shortly before the end of the boil, whirlpool additions at flameout, and dry hopping after fermentation. Its combination of a chronological timeline, concise labels, realistic hop imagery, brewing vessels, and progressive color coding makes the relationship between hop timing and the intended contribution of bitterness, flavor, complexity, and aroma easy to understand at a glance.
The image is related to: Hops in Beer Brewing: Green Bullet