
Image: Optimal Hop Addition Schedule for Legacy Hops Brewing Timeline
Published: October 10, 2026 at 8:23:05 AM UTC
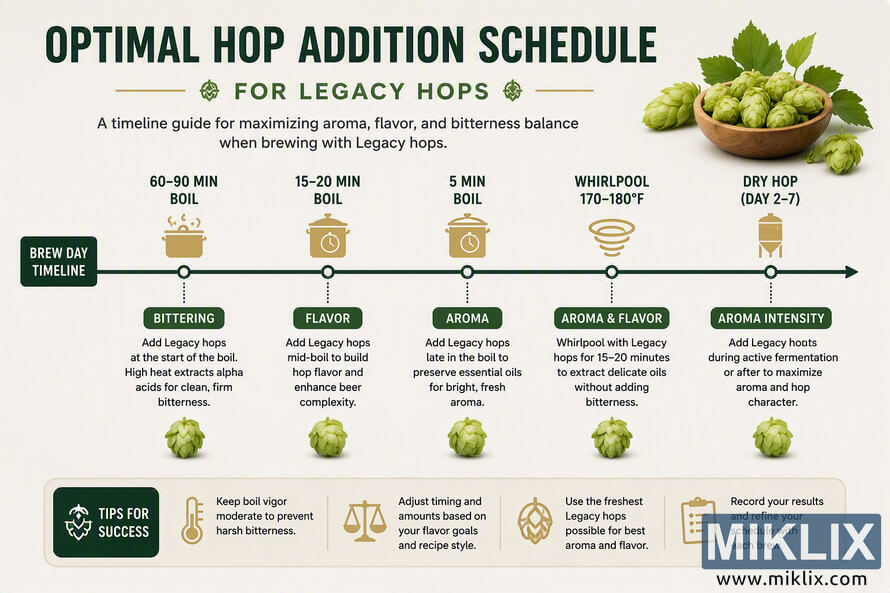
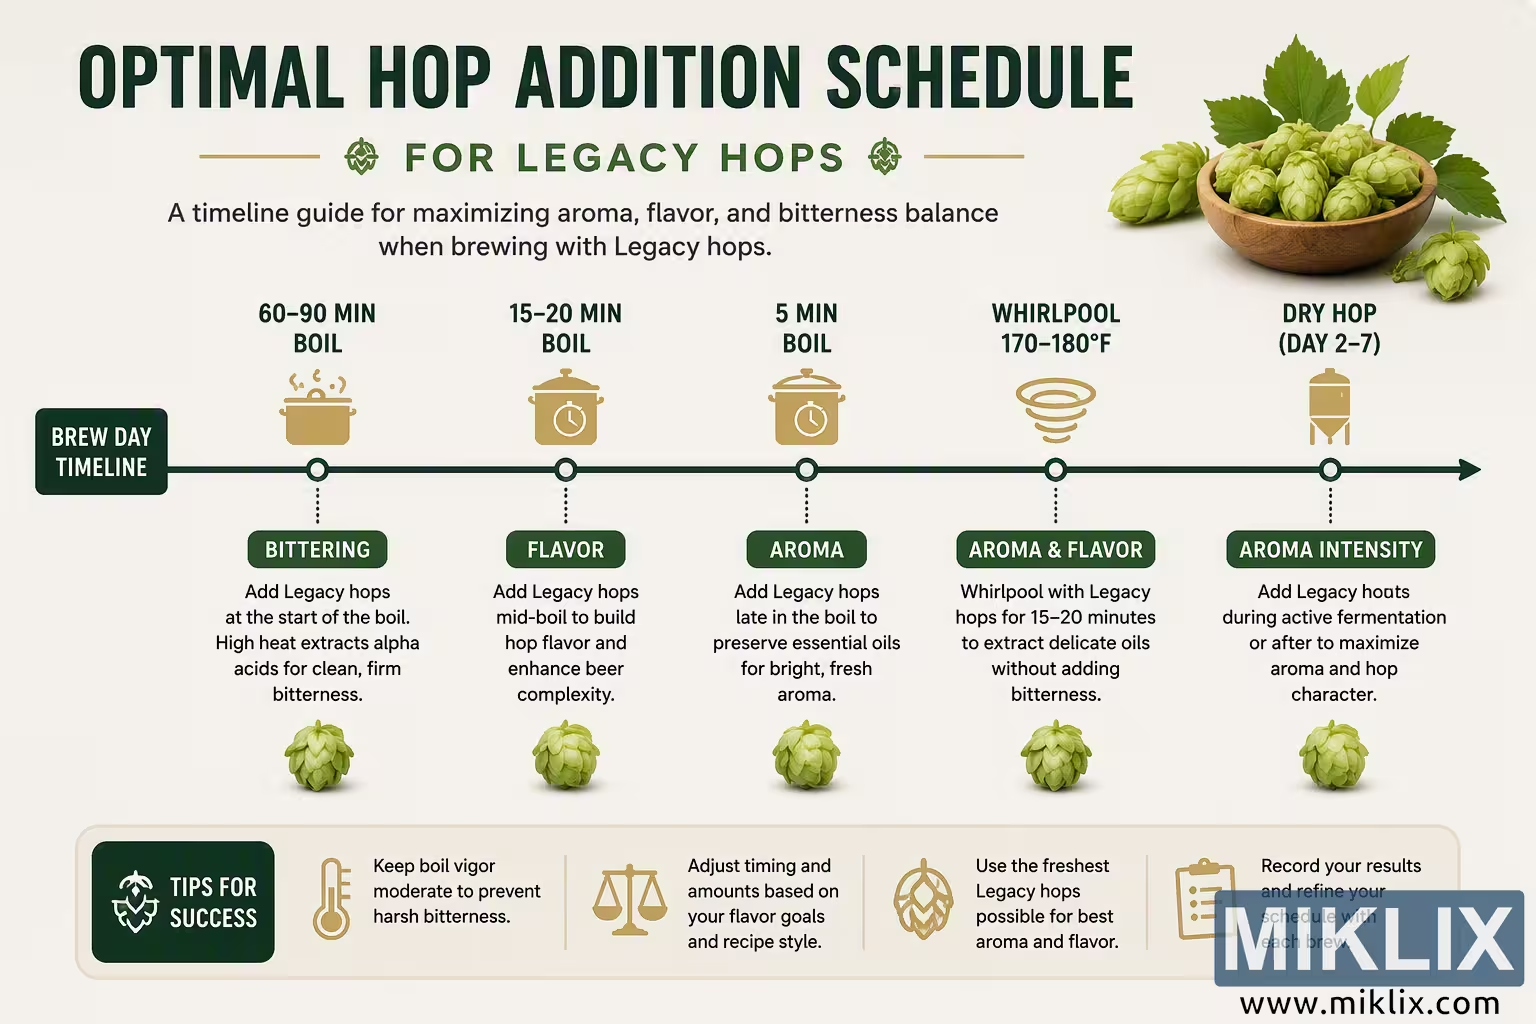
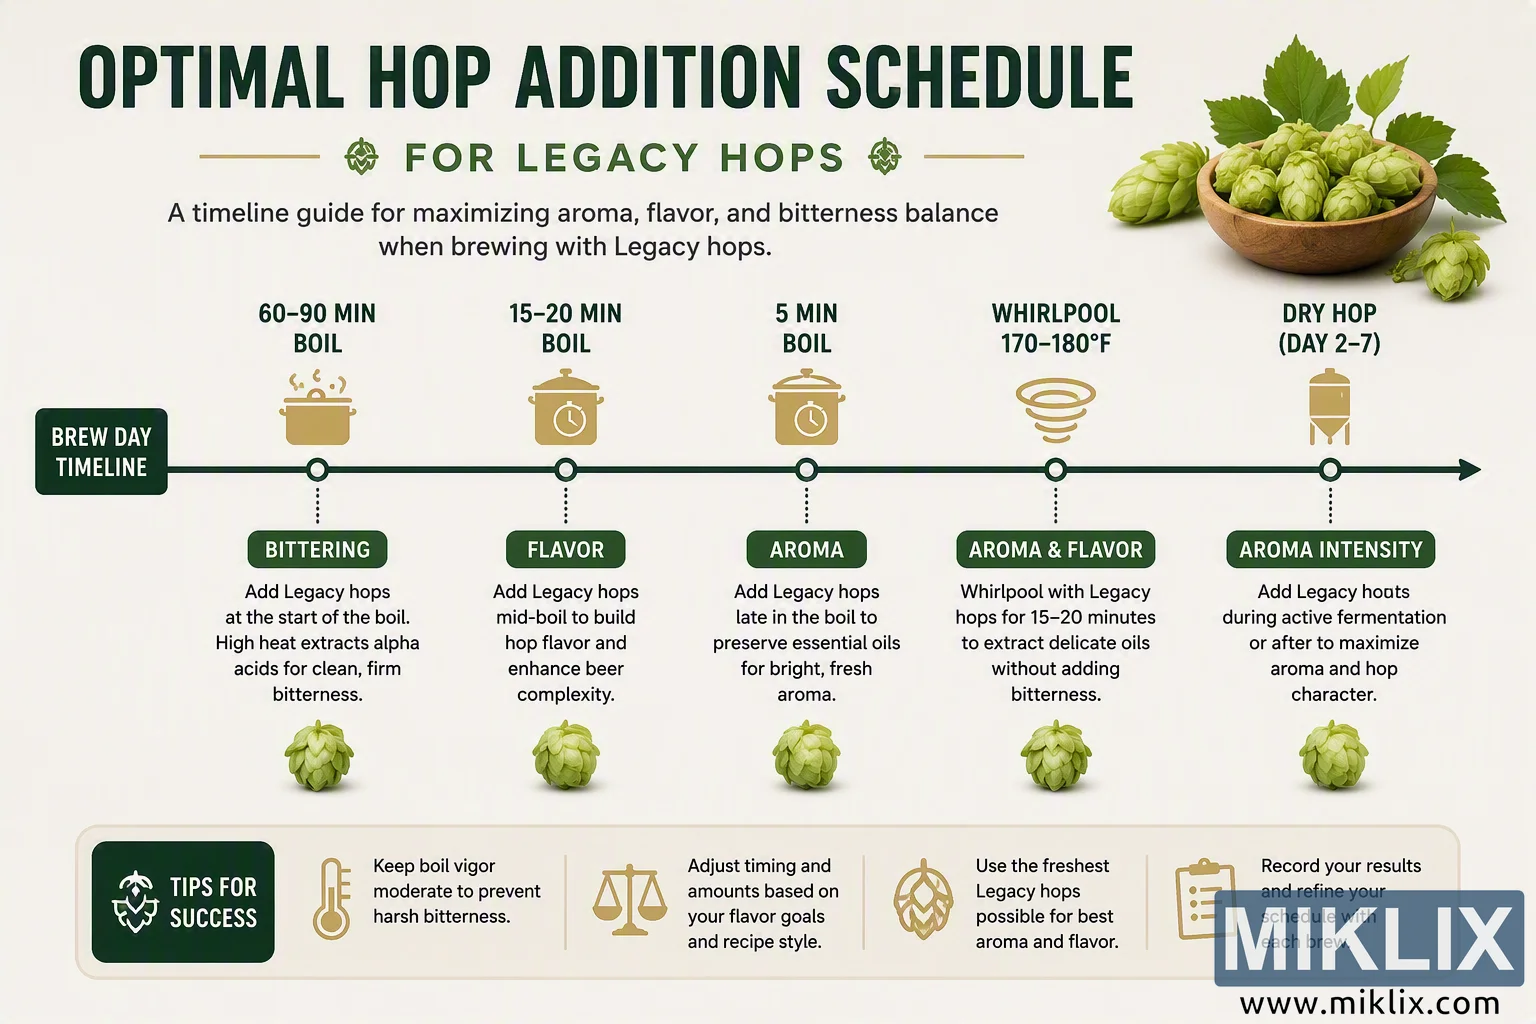
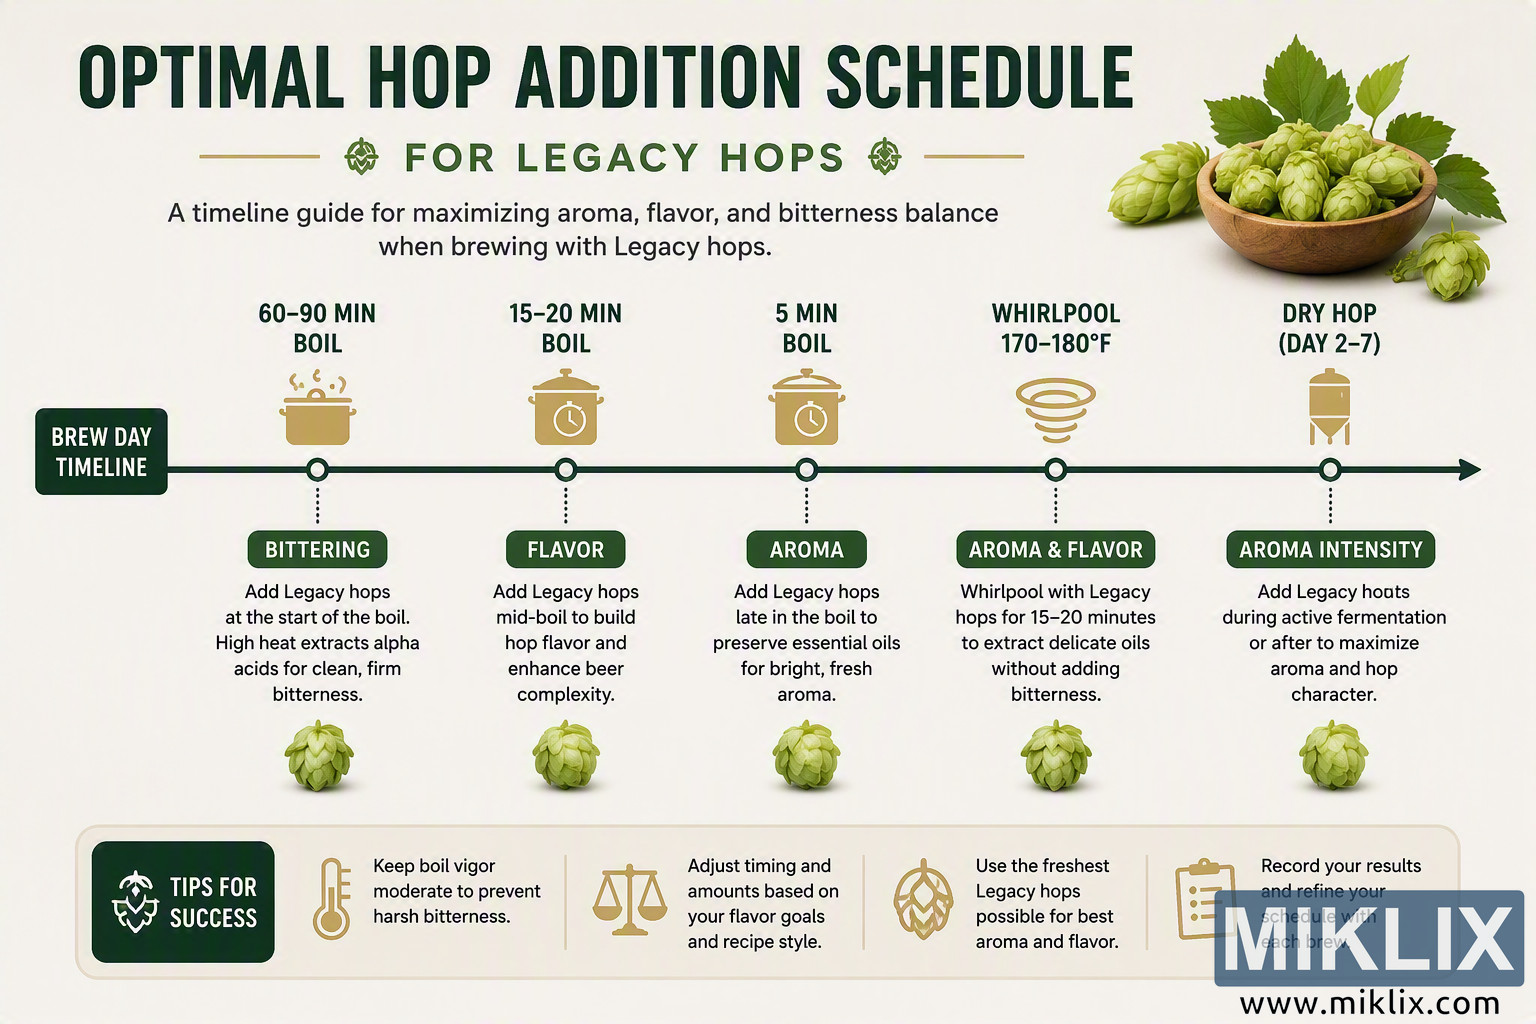
Detailed brewing infographic presenting an optimal hop addition timeline for Legacy hops. The visual explains when to add hops during boiling, whirlpool, and dry-hopping stages to achieve bitterness, flavor, aroma, and aroma intensity, along with practical brewing tips and illustrated hop imagery.
Available versions of this image
The image files available for download below are less compressed and higher resolution - and as a result of that, higher quality - than the images embedded in articles and pages on this website, which are more optimized for file size in order to reduce bandwidth consumption.
Regular size (1,536 x 1,024)
Large size (3,072 x 2,048)
Very large size (4,608 x 3,072)
Extra large size (6,144 x 4,096)
Comically large size (1,048,576 x 699,051)
- Still uploading... ;-)
Image description
The image is a professionally designed educational infographic presented in a landscape orientation. The infographic communicates a recommended timeline diagram for adding Legacy hops during the brewing process. The overall visual style is clean, modern, and instructional, featuring a light cream or off-white background with dark green and muted gold accent colors. The design is organized around a horizontal timeline that runs across the central portion of the image and is intended to guide brewers through different hop addition stages from the beginning of the boil through fermentation.
At the very top of the image, a large bold headline reads “OPTIMAL HOP ADDITION SCHEDULE.” Directly below the main title appears a secondary heading reading “FOR LEGACY HOPS.” Decorative horizontal gold lines and small hop-themed symbols flank the subtitle, creating a balanced and visually appealing header section. Beneath the title area, a brief explanatory sentence states that the diagram is a timeline guide for maximizing aroma, flavor, and bitterness balance when brewing with Legacy hops.
In the upper-right section of the infographic is a realistic illustration of several green hop cones arranged inside a wooden bowl. Additional hop cones and green leaves are positioned around the bowl. This decorative element reinforces the brewing and hop-focused subject matter. The hop cones appear fresh, textured, and naturally colored, serving as a visual anchor in the title area.
The center of the infographic is dominated by a horizontal timeline represented by a dark green line with circular milestone markers. The timeline begins on the left with a dark green rectangular label reading “BREW DAY TIMELINE.” An arrow extends from the timeline toward the right edge of the image, indicating progression through the brewing process.
Five major timeline stages are displayed above and below the timeline. Each stage includes a timing label, an icon, a category title, and explanatory text.
The first stage is labeled “60–90 MIN BOIL.” Above the timeline marker is an icon depicting a brewing pot with steam rising from it. Below the timeline, a dark green label reads “BITTERING.” The accompanying text explains that Legacy hops are added at the start of the boil. The description notes that high heat extracts alpha acids, producing clean and firm bitterness. Near the bottom of this section is a realistic green hop cone illustration.
The second stage is labeled “15–20 MIN BOIL.” Above the timeline marker appears a brewing kettle icon containing a small clock symbol, indicating timing during the boil. The dark green category label below reads “FLAVOR.” The explanatory text states that Legacy hops are added during the middle portion of the boil to develop hop flavor and enhance overall beer complexity. A green hop cone illustration is positioned beneath the text, visually matching the style of the other stages.
The third stage is labeled “5 MIN BOIL.” Above the timeline marker is another brewing kettle icon featuring a clock symbol. The category label below reads “AROMA.” The accompanying text explains that Legacy hops are added late in the boil to help preserve essential oils and generate a bright, fresh aroma profile. Another detailed hop cone illustration appears near the bottom of this section.
The fourth stage is identified as “WHIRLPOOL 170–180°F.” Instead of a kettle icon, this stage features a stylized spiral graphic representing whirlpool motion. The category label below reads “AROMA & FLAVOR.” The associated text explains that brewers should whirlpool with Legacy hops for approximately 15–20 minutes to extract delicate oils while avoiding additional bitterness. A green hop cone illustration appears below this explanatory text.
The fifth and final stage is labeled “DRY HOP (DAY 2–7).” Above the timeline marker is a fermentation vessel icon. The category label below reads “AROMA INTENSITY.” The explanatory text explains that Legacy hops are added during active fermentation or afterward to maximize aroma and hop character. A final hop cone illustration appears beneath this section, visually completing the sequence across the timeline.
All five stages are connected through evenly spaced timeline markers, creating a clear progression from bittering additions at the beginning of brewing to dry hopping during fermentation. The use of dark green labels and gold icons establishes a consistent visual hierarchy and helps viewers quickly identify distinct brewing objectives at each stage.
The bottom portion of the infographic contains a separate horizontal information panel with rounded corners and a light background. On the left side of this panel is a dark green box reading “TIPS FOR SUCCESS,” accompanied by a hop-themed icon. The remainder of the panel contains four practical brewing recommendations, each paired with a simple gold line-art icon.
The first tip is represented by a thermometer icon and advises maintaining moderate boil vigor to prevent harsh bitterness. The second tip is paired with a balance scale icon and recommends adjusting timing and hop quantities according to flavor goals and recipe style. The third tip uses a hop icon and encourages brewers to use the freshest Legacy hops available to achieve the best aroma and flavor results. The fourth tip is accompanied by a clipboard icon and recommends recording brewing results and refining the hop schedule with each brew.
The overall composition is symmetrical, highly readable, and optimized for educational use. Green and gold colors dominate the palette, reinforcing associations with hops, brewing ingredients, and craft beer culture. Icons, hop illustrations, and typographic hierarchy work together to communicate technical brewing information in an accessible format. The infographic does not depict any commercial logos, product brands, company trademarks, or identifiable commercial packaging. Instead, it focuses entirely on a generalized brewing process and instructional timeline. The visual combines realistic hop imagery with iconographic graphics and structured text blocks to create a concise yet comprehensive reference guide for brewers interested in determining when Legacy hops should be added during different brewing stages to influence bitterness, flavor, aroma, aroma-and-flavor balance, and aroma intensity.
The image is related to: Hops in Beer Brewing: Legacy