
A Complete Guide to Growing Aztec Lily in Your Own Garden
Published: September 25, 2026 at 4:13:06 PM UTC
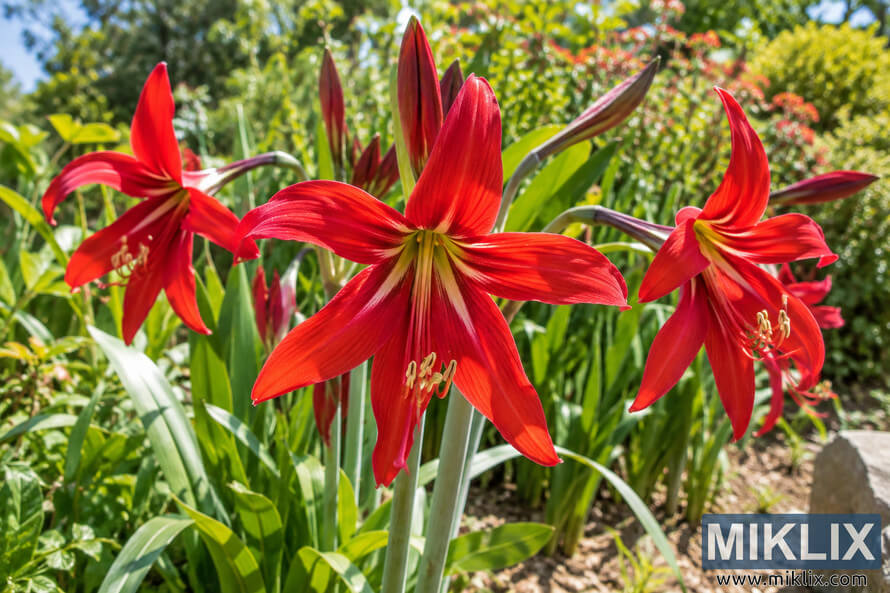
Few bulbs make a stronger display than Aztec Lily (Sprekelia formosissima). Its open, red flowers rise above narrow leaves and bring a tropical look to a sunny garden.
Click or tap the image for more information and higher resolutions.
This guide explains where to plant it, how to water it, and how to protect the bulb through winter. You will also learn how to grow this striking lily in containers.
The flowers can appear suddenly, often before the leaves emerge. This surprise display is one reason gardeners grow the plant.
Aztec Lily (Sprekelia formosissima) plant profile
Aztec lily belongs to the Amaryllis family. It is sometimes listed under the name amaryllis formosissima, although it is not the same plant as the common florist amaryllis.
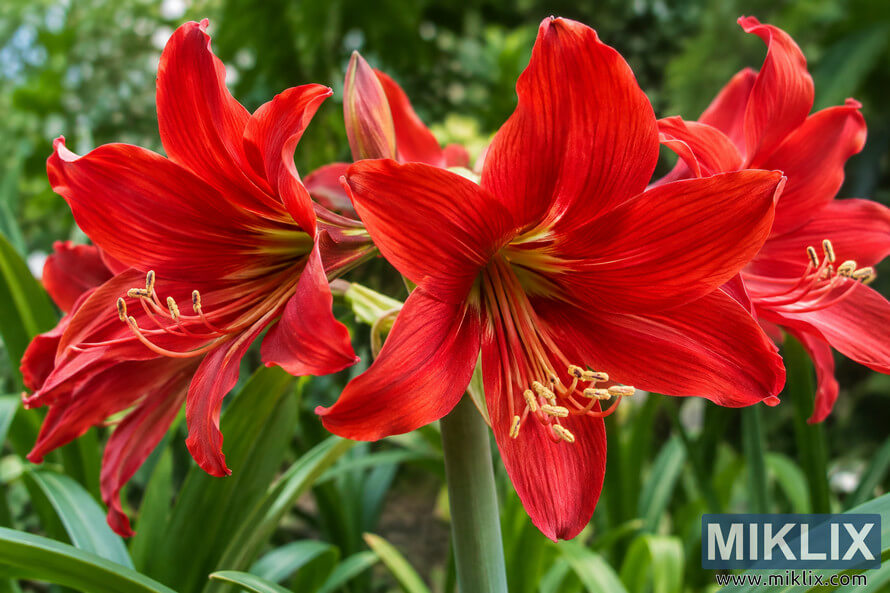
The bulb produces one or more tall flower stalks. Each flower has six petals, with a deep red color that may look almost scarlet in bright sun. Flowers may last for several days.
What to expect
- Bright red flowers in spring or summer
- Narrow leaves that may appear after flowering
- A mature height of about 12 to 18 inches
- Growth from bulbs that can remain for several years
Best garden role
- Sunny borders and raised beds
- Rock garden displays
- Warm-climate perennial planting
- Container plant for colder regions
The unusual flower shape adds color and structure to a mixed planting.
Click or tap the image for more information and higher resolutions.
Choose the right location, sun, and soil
Select a location with full sun for at least six hours each day. Morning sun and some light afternoon shade can help in very hot climates. Good air movement also lowers the risk of disease.
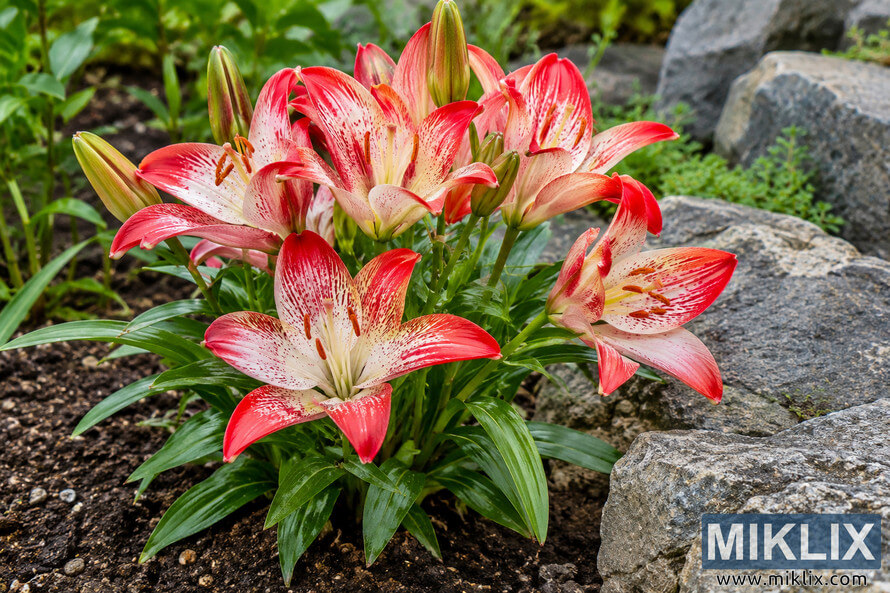
The soil must drain fast. Heavy, wet soil can cause bulb rot, especially during fall and winter rain. Improve clay soil with compost and coarse material, or use a raised bed.
A slightly acidic to neutral soil is a good starting point. The plant can tolerate alkaline soil, but extreme alkalinity may limit nutrient uptake.
A raised position helps rain move away from the bulb.
Click or tap the image for more information and higher resolutions.
Prepare the planting area
- Remove weeds and break up compacted soil.
- Mix in mature compost without making the bed waterlogged.
- Test drainage by filling a hole with water and watching how fast it empties.
- Choose a location that stays warm but does not collect runoff.
Planting bulbs for strong growth
Plant bulbs in spring when the danger of hard frost has passed. In warm climates, fall planting may work if the soil remains well drained and winter temperatures are mild.
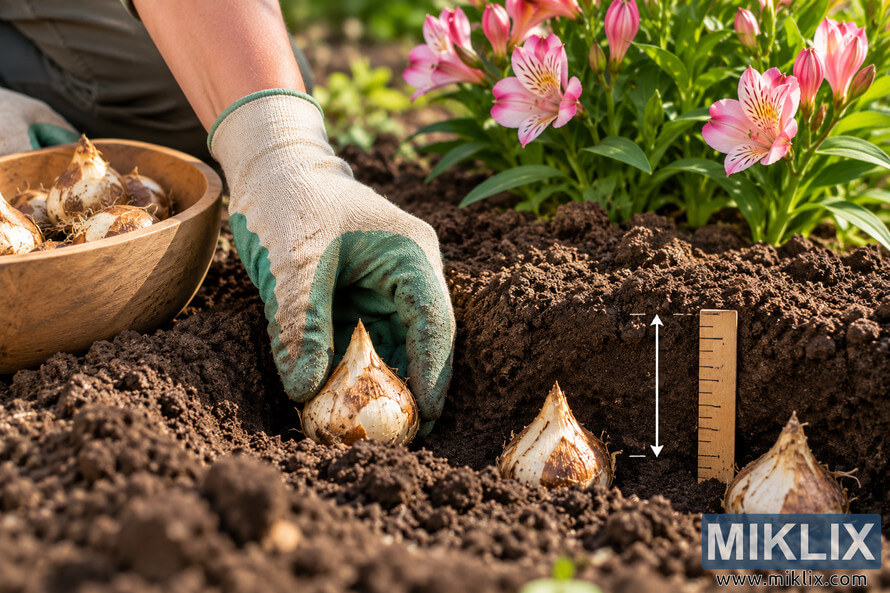
Set each bulb with its neck near the soil surface. A common depth is about 1 to 2 inches, though large bulbs can sit slightly deeper in loose soil. Do not bury the neck under a thick layer of wet soil.
Allow about 6 to 8 inches of spacing between bulbs. This gives the plant room to form leaves and improves air flow.
Planting depth matters. A shallow, stable position is safer than deep planting in wet soil.
Click or tap the image for more information and higher resolutions.
Watering, fertilizing, and seasonal care
Water after planting to settle the soil. Then wait until the top inch feels dry. During active spring and summer growth, provide a deep drink rather than frequent shallow watering.
Reduce watering when flowers fade and leaves begin to yellow. In fall, keep the bulb much drier. Excess moisture during dormancy is a common cause of failure.
Feed in spring with a balanced bulb fertilizer. Apply it when new growth starts and again after flowering if the label allows. Avoid heavy nitrogen, which can produce leaves but fewer flowers.
Spring
Watch for flower stalks and new leaves. Begin careful watering as growth appears.
Summer
Keep soil lightly moist during heat. Remove damaged flowers and keep weeds away.
Fall
Let leaves finish naturally. Reduce water and prepare bulbs for cold or wet weather.
Leaves store energy for the next season. Do not cut them while they are still green.
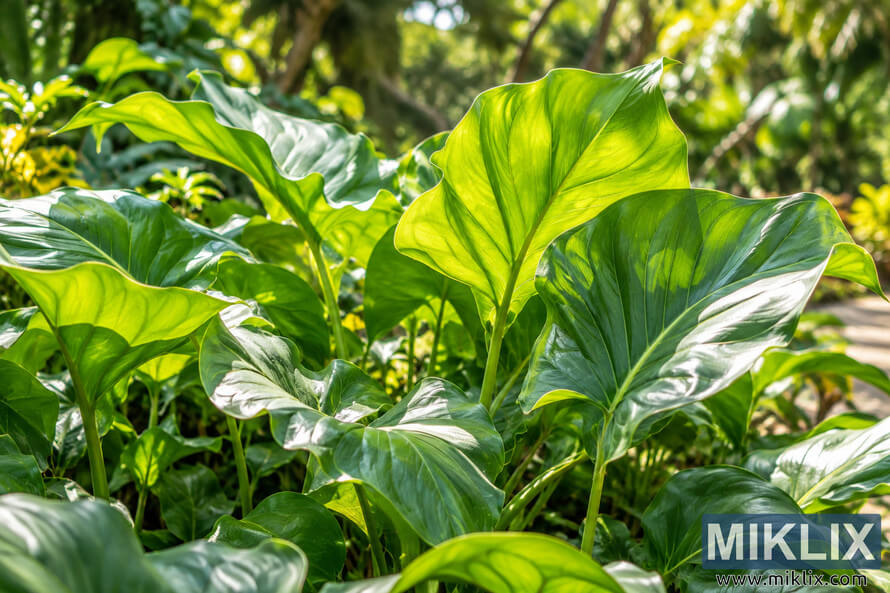
Click or tap the image for more information and higher resolutions.
Climate protection and container growing
Aztec lilies suit warm climates and can remain in the ground for several years where winters are mild. In colder zones, grow them as a container plant or lift the bulbs before hard freezes.
Use a pot with drainage holes. A container 8 to 12 inches wide can hold one bulb. Choose a loose potting mix with added perlite, sand, or fine bark.
Place the container in full sun during spring and summer. Move it under cover before repeated freezing weather or long periods of winter rain.
Containers make moisture control easier and allow gardeners in cool climates to protect the bulb.
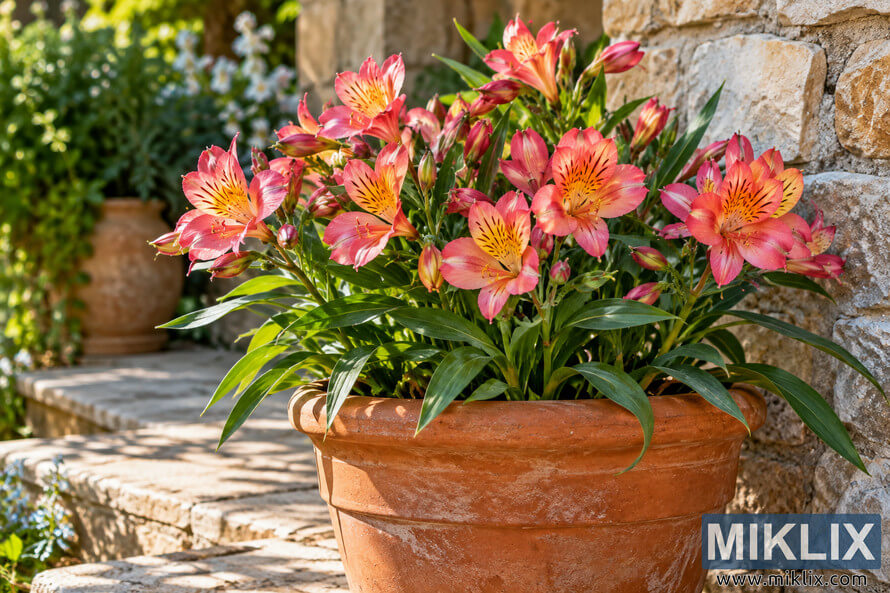
Click or tap the image for more information and higher resolutions.
Protect bulbs from winter damage
- Move containers to a cool, dry, bright shelter.
- Stop routine watering during deep dormancy.
- Add a light mulch in mild climates, but keep it away from the bulb neck.
- Lift bulbs from wet ground after leaves fade.
Flowering, propagation, pests, and disease prevention
Flowering time varies with climate, moisture, and bulb maturity. Some plants flower in spring, while others may flower in summer after a warm rest period.
Allow flowers to fade naturally if you want the plant to rebuild its energy. Remove the flower stalk when it turns yellow, but leave healthy leaves in place.
Propagation is usually done by separating offsets from a mature bulb. Lift the plant during dormancy, separate firm offsets, and replant them at the same shallow depth.
Firm offsets are more likely to establish than soft or damaged ones.
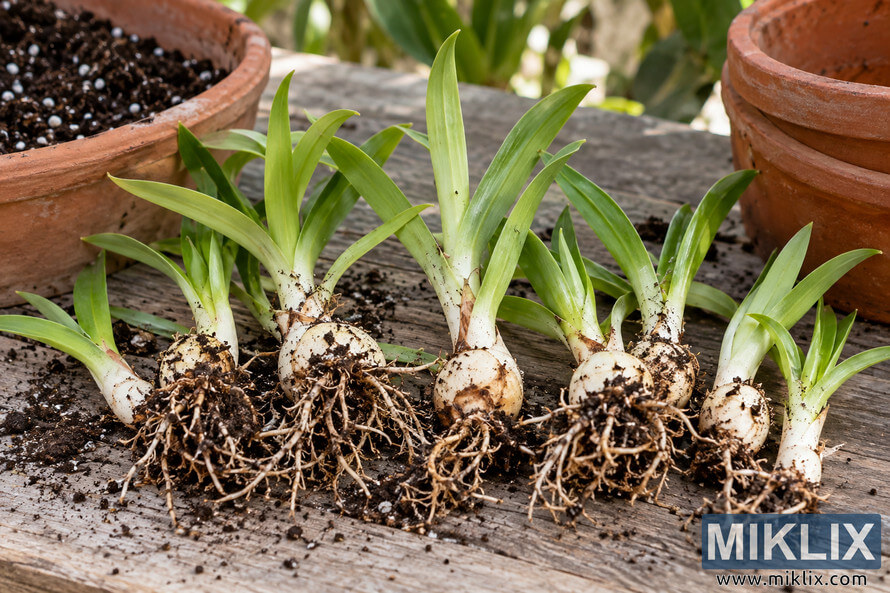
Click or tap the image for more information and higher resolutions.
Prevent common problems
Helpful practices
- Use clean tools when dividing bulbs.
- Give plants full sun and open air.
- Inspect bulbs before planting.
Avoid these mistakes
- Do not leave bulbs in standing water.
- Do not overfeed with high nitrogen.
- Do not store damaged bulbs with healthy ones.
Troubleshooting tips for beginner gardeners
If the plant makes leaves but no flowers, it may need more sun, a longer warm season, or time to mature. Crowded bulbs can also reduce flowering. Give them several years to settle before moving them.
If leaves turn yellow early, check the soil first. Wet soil points to poor drainage, while dry, crispy leaves suggest heat or missed watering.
If bulbs feel soft, remove them from the soil. Cut away minor damaged tissue with a clean knife and let the bulb dry briefly before replanting in fresh, airy soil. Discard bulbs with deep rot.
Firm bulbs, dry dormancy, and fast drainage solve many common problems.
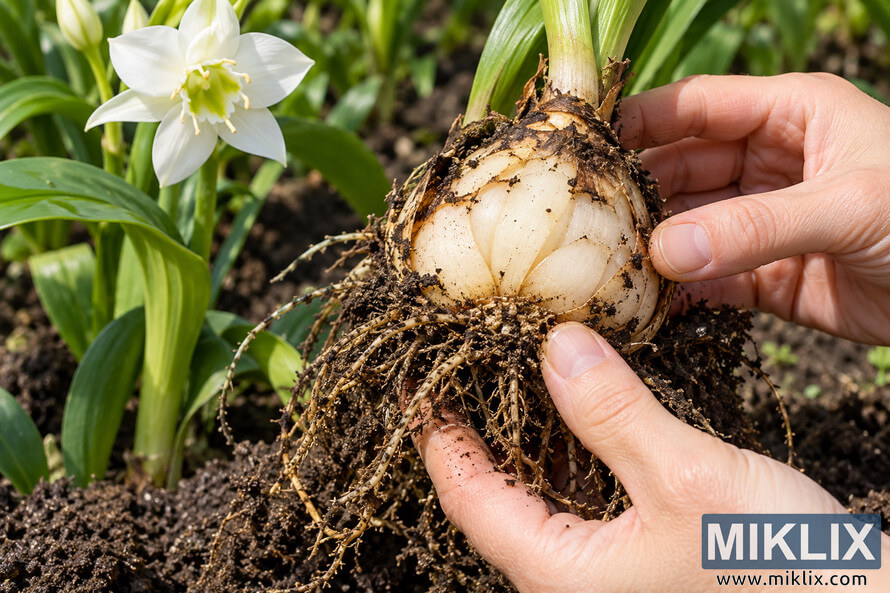
Click or tap the image for more information and higher resolutions.
A simple year-round care plan
In spring, plant or uncover the bulbs after frost. Give them full sun, moderate water, and a light feeding when growth begins.
In summer, enjoy the flowers and keep the leaves healthy. Water deeply when the soil dries, but never let the pot or bed remain soaked.
In fall, reduce water as leaves fade. In winter, protect bulbs from freezing temperatures and excess moisture. Return containers outdoors when the weather becomes mild.
Consistent seasonal care helps bulbs return and flower for several years.
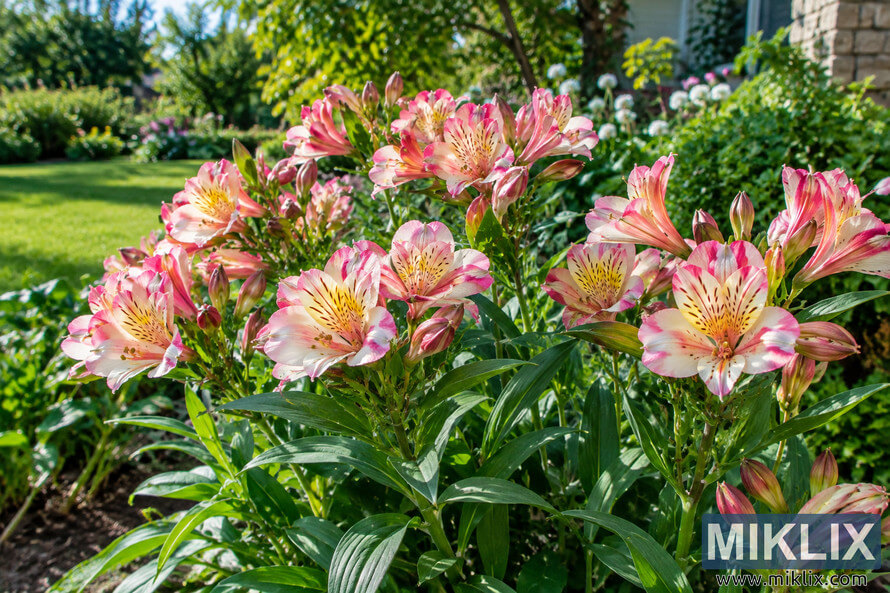
Click or tap the image for more information and higher resolutions.
Final growing checklist
- Choose full sun and fast-draining soil.
- Plant the bulb 1 to 2 inches deep with 6 to 8 inches of spacing.
- Water during active growth, then keep the bulb drier in fall and winter.
- Protect containers and lift bulbs where cold or wet conditions are severe.
- Leave green leaves in place so the bulb can store energy.
With the right location and careful moisture control, this unusual lily can become a reliable seasonal highlight.
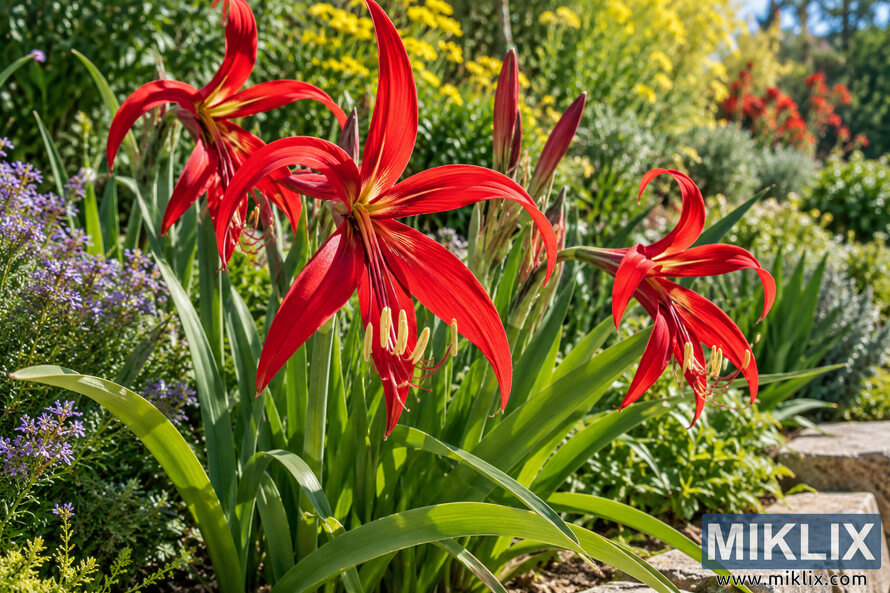
Click or tap the image for more information and higher resolutions.
Further Reading
If you enjoyed this post, you may also like these suggestions:
- A Guide to the Most Beautiful Lily Varieties to Grow in Your Garden
- A Guide to the Most Beautiful Clematis Varieties to Grow in Your Garden
- 12 Stunning Delphinium Varieties to Transform Your Garden