
Growing Crown Imperial: A Complete Garden Guide
Published: October 3, 2026 at 6:17:04 AM UTC
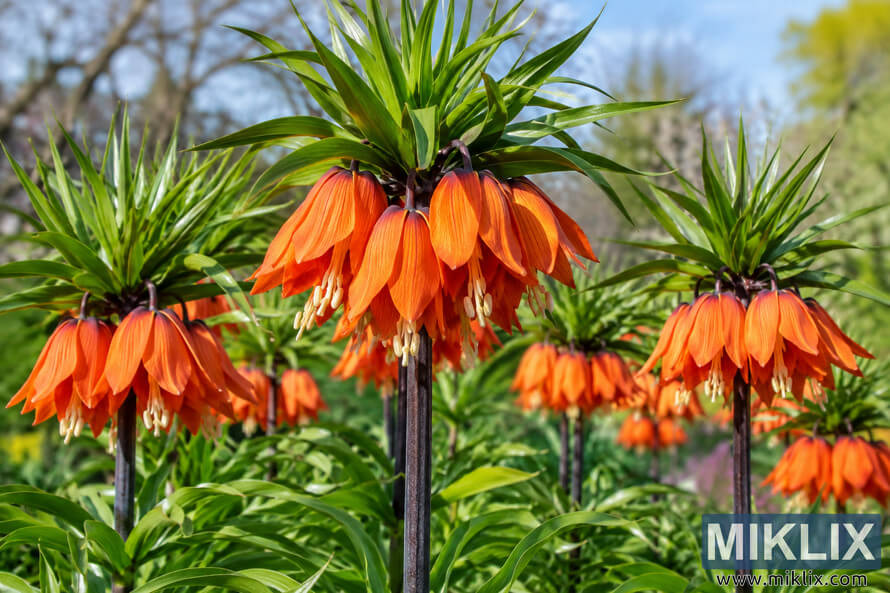
Growing Crown Imperial (Fritillaria imperialis) can transform a spring border with tall stems, bold color, and unusual bell-shaped flowers. These spring bulbs are not difficult when planted in the right place. Good drainage, strong light, and careful seasonal care are the keys to healthy plants.
Click or tap the image for more information and higher resolutions.
This guide explains how to choose bulbs, prepare soil, plant at the right time, and solve common problems. It also covers propagation, overwintering, and safety for gardeners, children, and pets.
What Makes Crown Imperial Special?
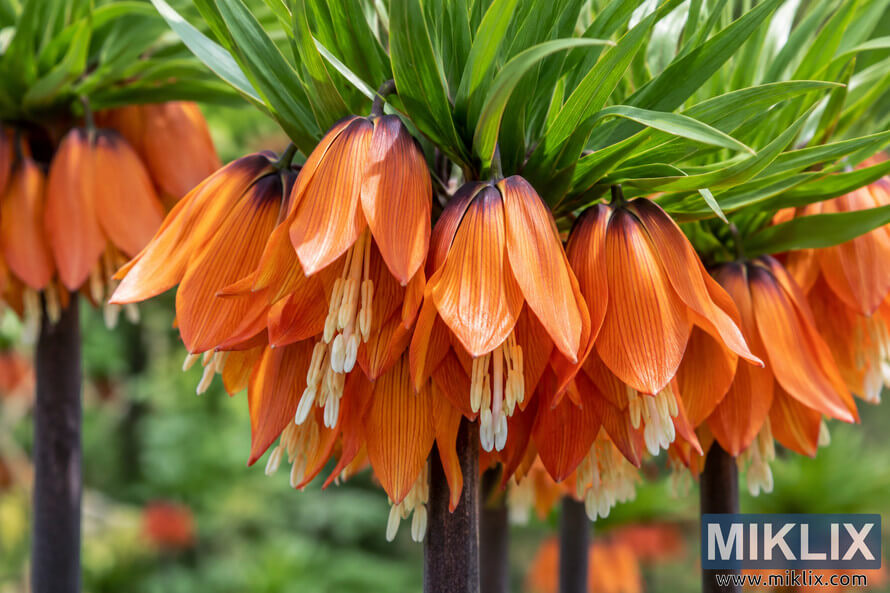
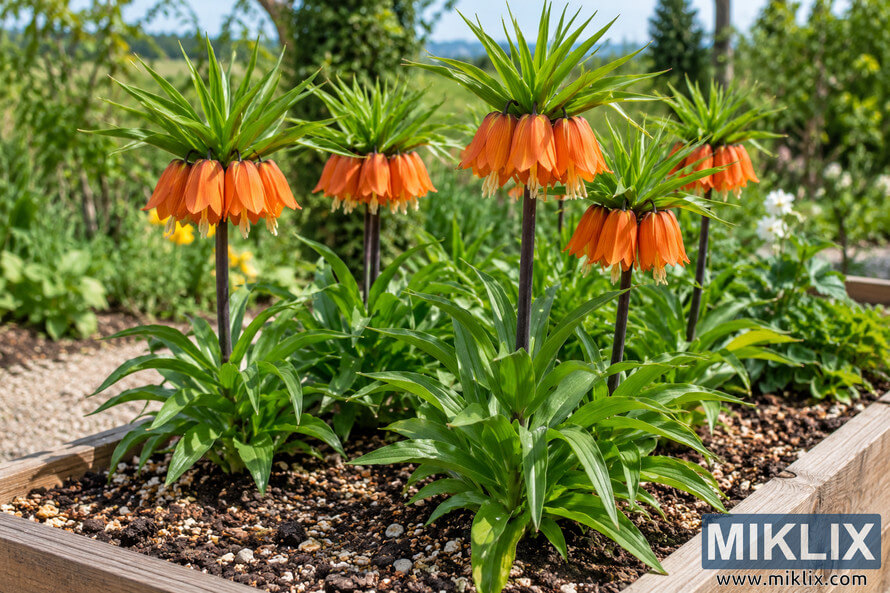
Crown Imperial is a hardy bulbous perennial in the genus fritillaria. It is commonly known as crown imperial because a ring of bell-shaped flowers sits beneath a crown of leafy bracts. Depending on the variety, stems can reach 2 to 4 feet in height.
Flowers may be orange, yellow, or red. The leaves form whorls around the tall stems, giving the plant a strong architectural shape. A mature plant can become a dramatic focal point in a spring garden.
Use crown imperials as vertical accents among low plants. They combine well with daffodils, tulips, and ground-covering perennials.
Choose the Best Garden Location
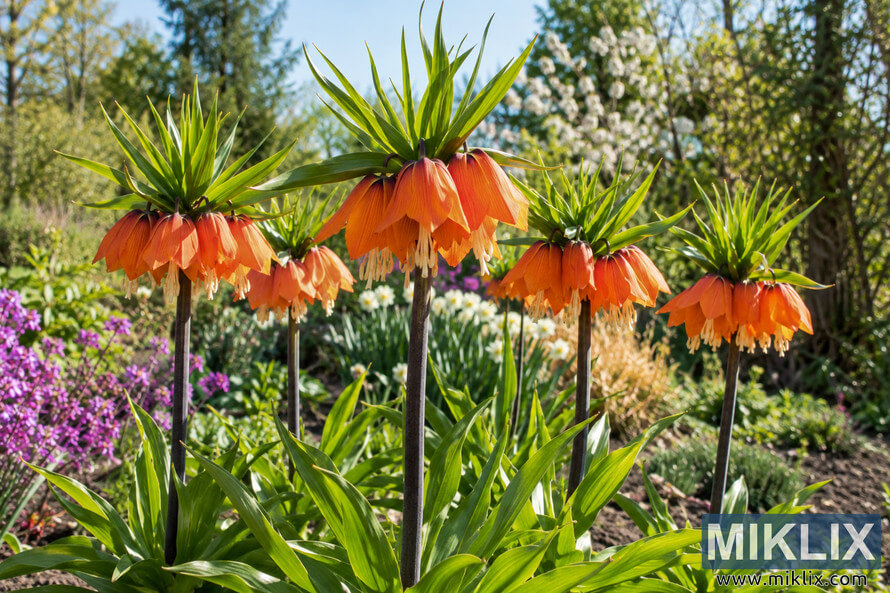
Select a place with full sun for the strongest stems and best flowers. In hot climates, light shade during the hottest afternoon hours can protect plants. Morning sun and open air are especially useful.
A border, raised bed, rock garden, or large container can work. Avoid a low spot where water collects after rain. Poor drainage is one of the main causes of bulb rot.
Good conditions
- Full sun or bright light shade
- Good air movement around leaves
- Protection from strong wind
- Space for tall stems and flowers
Places to avoid
- Heavy, wet clay soil
- Deep shade beneath dense trees
- Areas with standing winter water
- Crowded beds with poor airflow
Place the plants where their height will not shade smaller spring flowers.
Click or tap the image for more information and higher resolutions.
Prepare Soil for Healthy Bulbs
Crown Imperial needs fertile soil that drains quickly. Sandy loam is ideal, but many soils can be improved. Work in mature compost or other organic matter before planting. Do not use fresh manure, which can damage bulbs and roots.
Test the soil by squeezing a handful after rain. It should hold together briefly, then crumble. If it stays sticky, add grit, coarse compost, or create a raised planting area. The goal is moisture without saturation.
Dig the bed to the depth of the bulbs. Mix organic matter through the upper layer rather than placing a rich pocket directly beneath each bulb. This encourages roots to spread evenly.
Improving drainage before planting is easier than trying to rescue bulbs after rot begins.

Click or tap the image for more information and higher resolutions.
When and How to Plant Crown Imperial Bulbs
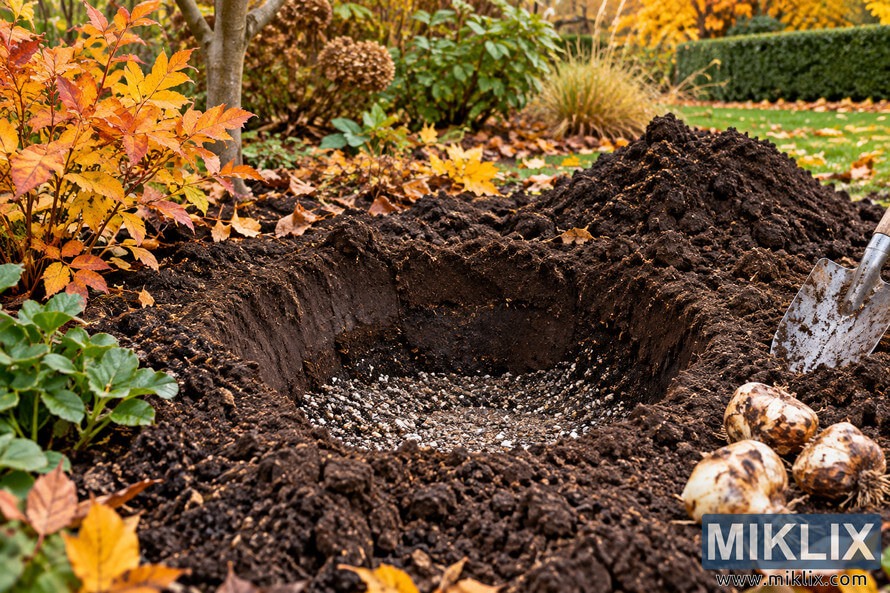
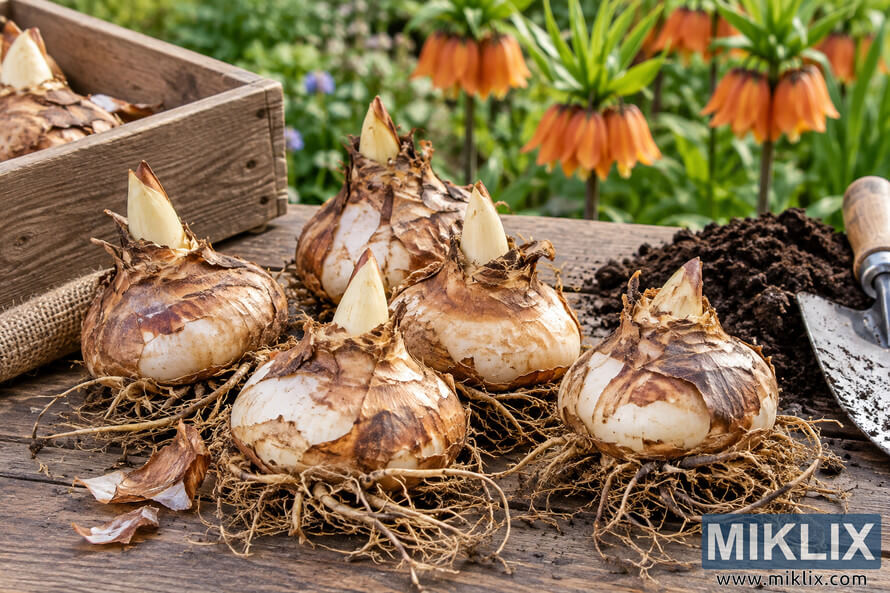
Plant bulbs in early fall, usually from late August through October in much of the United States. The bulbs need time to make roots before the ground freezes. In warmer regions, plant when night temperatures begin to cool.
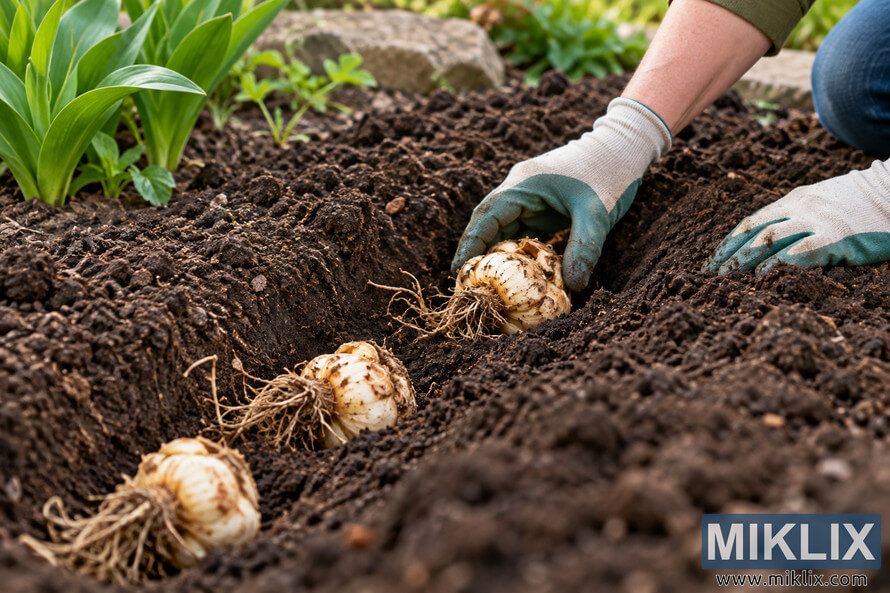
Handle bulbs gently. They are rounded and may have a central hollow or depression. Plant them slightly on their side so rainwater cannot sit in the center.
- Clear weeds and loosen the soil.
- Dig a hole about three times as deep as the bulb is tall.
- Set the bulb on its side in the hole.
- Space large bulbs about 8 to 12 inches apart.
- Cover with soil and water lightly.
- Mark the location so dormant bulbs are not disturbed.
- Planting depth may vary with bulb size and soil type. In heavy soil, use a slightly shallower position with excellent drainage. In sandy soil, the usual three-times-depth rule is suitable.
- Plant bulbs at the correct depth and avoid pressing wet soil tightly around them.
Click or tap the image for more information and higher resolutions.
Watering and Fertilizing Through the Seasons
Water after planting if the soil is dry. During fall, keep the bed lightly moist while roots develop. Do not water automatically every day. Rain may provide enough moisture.
In early spring, water during extended dry periods. Once flowers fade and foliage turns yellow, reduce water. Dormant bulbs prefer a drier summer rest.
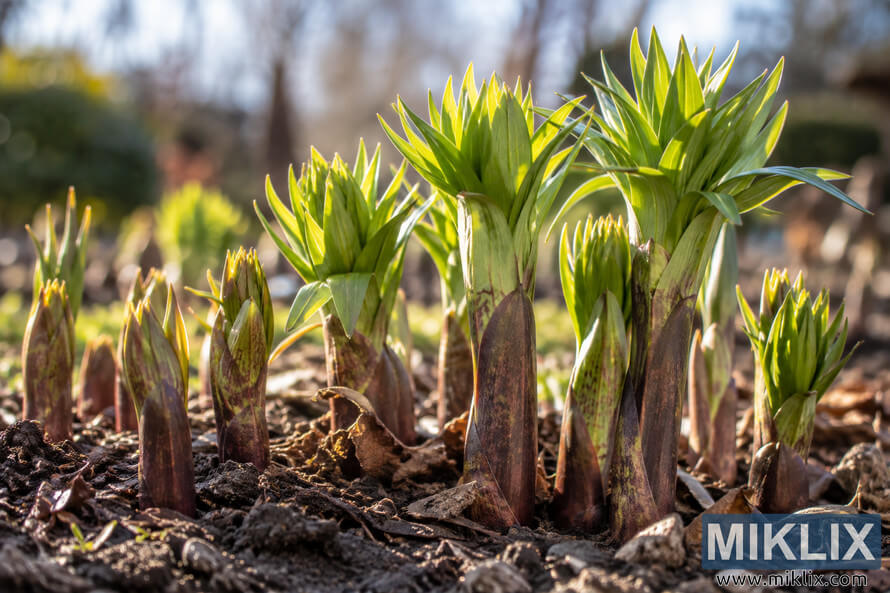
Apply a balanced bulb fertilizer when shoots appear, following the product label. A second light feeding after flowering can support the bulb for next year. Avoid excess nitrogen, which creates soft leaves and weak stems.
Fall
Water once after planting, then monitor soil moisture.
Spring
Water during dry weeks and feed when growth starts.
Summer
Let foliage die back and keep dormant bulbs fairly dry.
Spring Care, Support, and Deadheading
Tall stems may need support in exposed gardens. Insert a discreet stake early, before roots become dense. Tie stems loosely with soft garden twine. A nearby shrub or perennial can also provide shelter.
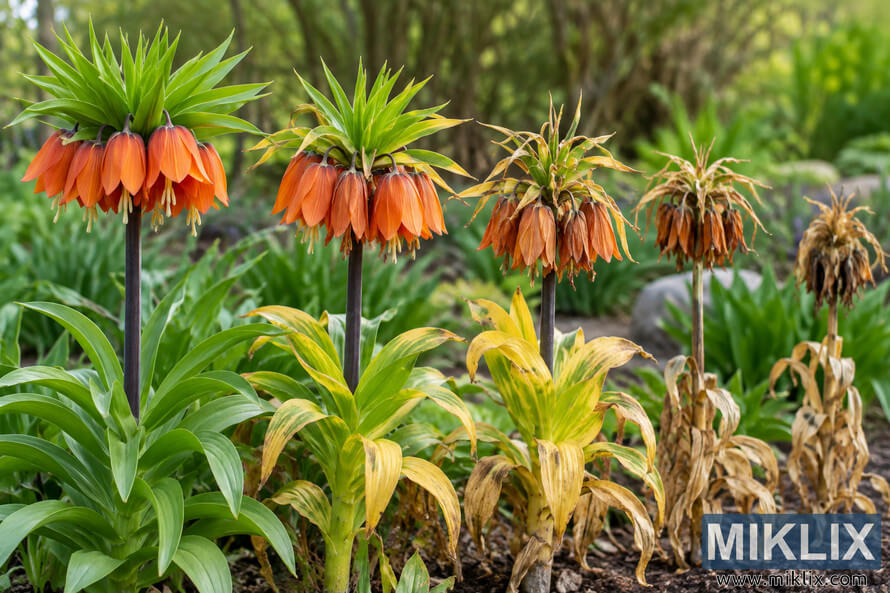
Remove spent flowers before seed pods develop if you want the bulb to conserve energy. Cut only the flower head and stalk. Leave green leaves in place until they turn yellow and collapse naturally.
Do not braid, bend, or remove healthy leaves too soon. The leaves collect energy for next year’s flowers. Once they are fully dry, cut them at soil level and clear away debris.
Early support is less disruptive than trying to stake a stem after it has fallen.

Click or tap the image for more information and higher resolutions.
Propagation, Offsets, and Dividing Plants
Mature crown imperials may produce offsets around the main bulb. Division is usually best after the foliage has died back in early summer or during the dormant period. Lift the clump carefully with a fork.
Separate firm offsets by hand. Replant them at the same depth as the parent bulb. Small offsets may need several years before they flower. Keep their location marked and protect them from digging.
Growing fritillaria from seed is possible but slow. Seed-grown plants may take several years to bloom and may differ from the parent. For home gardeners, healthy offsets are usually the easier choice.
Discard soft or damaged parts and replant only firm bulbs with healthy tissue.

Click or tap the image for more information and higher resolutions.
Overwintering in Beds and Containers
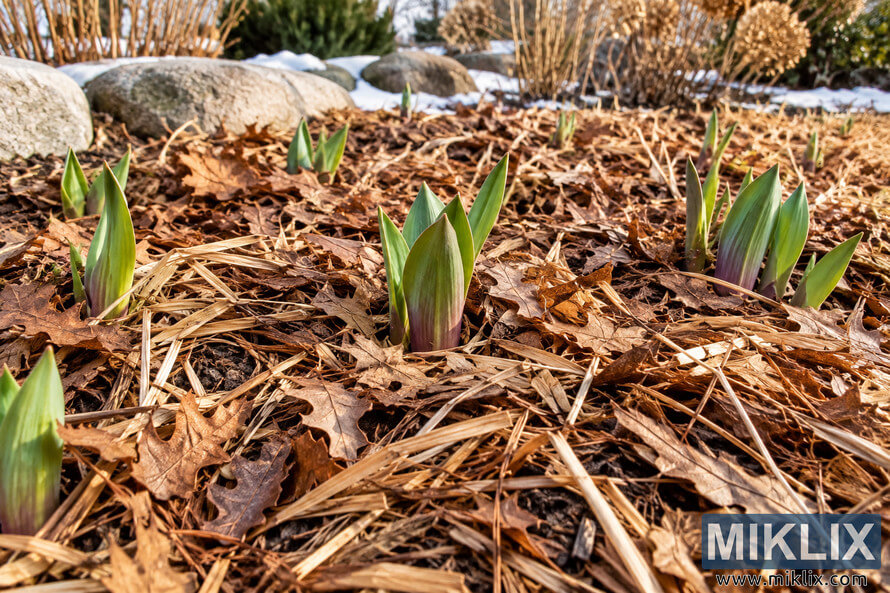
Established Crown Imperial bulbs are hardy in many temperate regions. In garden beds, a thin mulch of leaves or compost can protect roots from temperature swings. Keep mulch loose and avoid burying new shoots.
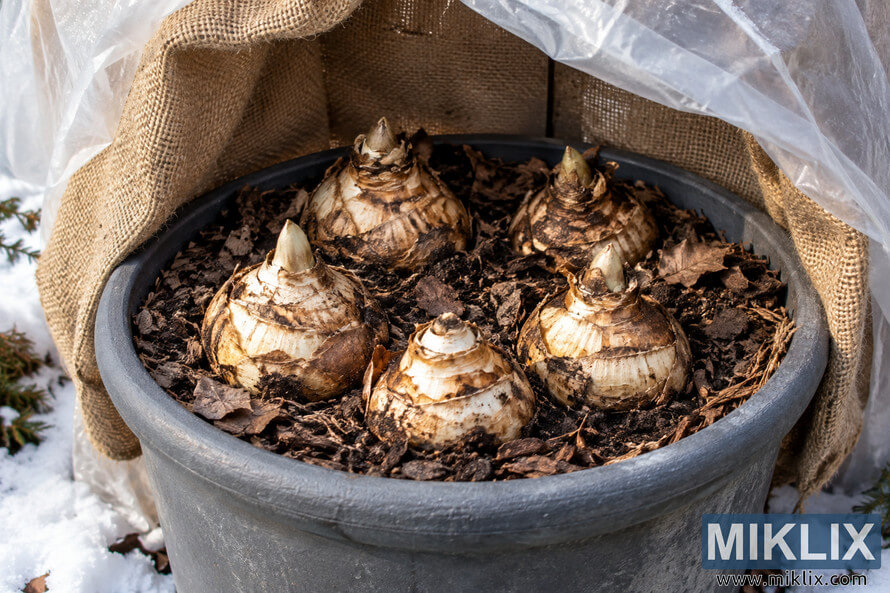
Containers need more care because their soil freezes faster. Use a pot with drainage holes and a gritty mix. Move it to a sheltered spot during severe cold, but do not keep the soil constantly wet.
In warm climates, the bulbs may need a dry dormant summer rather than winter protection. Choose varieties suited to your local conditions and follow the planting calendar for your area.
Good drainage matters even more in containers, where water can collect around the bulb.
Click or tap the image for more information and higher resolutions.
Pests, Disease, and Common Growing Problems
Crown Imperial has a strong scent that may discourage some browsing animals, but no plant is completely pest-proof. Watch for aphids on young growth, slugs in wet conditions, and bulb pests in poorly managed soil.
The most serious disease problem is rot. Soft bulbs, a foul smell, yellowing leaves, and collapsing stems are warning signs. Remove affected bulbs and improve drainage before replanting.
Good spacing, clean tools, careful watering, and removal of dead debris reduce disease pressure. Never compost bulbs that show clear rot.
Problem
- Leaves yellow too early
- Stems fall over
- Few or no flowers
- Bulbs become soft
Likely cause
- Dry roots or disease
- Wind, shade, or weak growth
- Small bulbs or early leaf removal
- Wet soil and poor drainage
Action
- Check moisture and inspect bulbs
- Add support and improve light
- Leave leaves until they fade
- Lift damaged bulbs and amend soil
Inspect leaves and stems weekly during wet spring weather so problems are found early.

Click or tap the image for more information and higher resolutions.
Troubleshooting and Safety for Gardeners and Pets
Why are my Crown Imperial flowers missing?
The bulbs may be too small, planted too deeply, shaded, or stressed by drought. Keep foliage intact after flowering and give the plants time to establish. Newly divided offsets often need more than one year before blooming.
Why do the flowers lean?
Wind, low light, excess nitrogen, or crowded growth can weaken stems. Move future plantings to full sun, avoid high-nitrogen fertilizer, and add support before stems become tall.
Are Crown Imperial bulbs toxic?
Fritillaria imperialis contains compounds that can cause illness if eaten. Treat bulbs and plant parts as toxic. Wear gloves when handling damaged bulbs, wash hands afterward, and keep bulbs away from children and pets.
Do not taste bulbs or use them as food. Contact a medical professional or veterinarian promptly if ingestion occurs.
FAQ About Growing Crown Imperial (Fritillaria imperialis)
Can Crown Imperial grow in light shade?
Yes. Light shade can work, especially in warm areas, but full sun usually produces stronger stems and more flowers. Avoid deep shade.
How far apart should Crown Imperial bulbs be planted?
Space large bulbs about 8 to 12 inches apart. This gives the crown, leaves, and stems room to develop and improves airflow.
Should I lift Crown Imperial bulbs every year?
Usually not. Leave them in the ground if soil drains well and the plants return reliably. Lift and divide only when clumps become crowded or drainage is poor.
Can Crown Imperial grow with tulips and daffodils?
Yes. Their flowering times often overlap, and the tall stems add height above lower spring bulbs. Give each plant enough space.
When should I cut Crown Imperial leaves?
Wait until the leaves are completely yellow or brown. Cutting them while green can reduce the bulb’s stored energy and weaken next year’s flowers.
Combining crown imperials with other spring bulbs creates layers of color and height.

Click or tap the image for more information and higher resolutions.
A Simple Year-Round Crown Imperial Checklist
Fall planting
- Choose firm, healthy bulbs
- Prepare well-drained soil
- Plant three bulb-heights deep
- Mark the planting area
Spring growth
- Provide full sun or light shade
- Water through dry weeks
- Apply bulb fertilizer carefully
- Stake tall stems early
After flowering
- Remove faded flowers
- Keep leaves until yellow
- Reduce water during dormancy
- Inspect bulbs before dividing
Click or tap the image for more information and higher resolutions.
Click or tap the image for more information and higher resolutions.

Click or tap the image for more information and higher resolutions.
Click or tap the image for more information and higher resolutions.
Click or tap the image for more information and higher resolutions.
Click or tap the image for more information and higher resolutions.

Click or tap the image for more information and higher resolutions.

Click or tap the image for more information and higher resolutions.
Click or tap the image for more information and higher resolutions.
Final Tips for a Successful Spring Display
Successful growing Crown Imperial (Fritillaria imperialis) begins with firm bulbs, full sun, and soil that drains freely. Plant in fall, space bulbs well, and keep moisture balanced. In spring, support tall stems and feed lightly, then allow leaves to fade naturally.
With these habits, crown imperials can return each year and bring height, scent, and unusual bell-shaped flowers to the garden. Watch for rot, handle bulbs safely, and give dormant plants a dry rest for the best long-term results.
Click or tap the image for more information and higher resolutions.
Further Reading
If you enjoyed this post, you may also like these suggestions:
- A Guide to the Most Beautiful Dahlia Varieties to Grow in Your Garden
- A Complete Guide to Growing Desert Five-Spot in Your Own Garden
- Butterfly Mariposa Lily: A Complete Garden Guide