Yeast in Homebrewed Beer: Introduction for Beginners
Published: July 20, 2025 at 7:09:28 AM UTC
Imagine brewing a batch of beer without yeast. You'd end up with sweet, flat wort instead of the delicious beverage you were hoping for. Yeast is the magical ingredient that transforms your brew from sugary water into beer, making it perhaps the most crucial component in your brewing arsenal. For beginners, understanding yeast strains can seem overwhelming, but it doesn't have to be. This guide will walk you through everything you need to know about yeast strains for home-brewing beer, helping you make informed choices for your first brewing adventures.
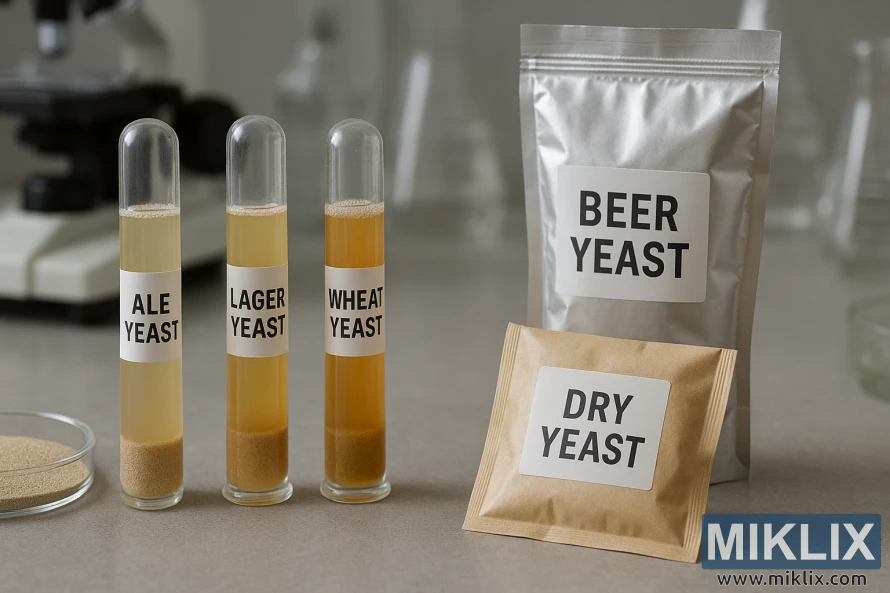
The Role of Yeast in Beer Brewing
Think of yeast as the chef of your beer. It eats the sugars extracted from your grains and converts them into alcohol, carbon dioxide, and a host of flavor compounds. Without yeast, there's no fermentation, and without fermentation, there's no beer.
Yeast does more than just create alcohol. It contributes significantly to your beer's flavor profile, mouthfeel, clarity, and aroma. Different yeast strains produce different flavors and aromas, from fruity esters to spicy phenols, making yeast selection a critical decision in determining your beer's character.
Beer would just be sugar water without yeast. Yeast chew up sugar and turn it into alcohol and a host of other by-products.
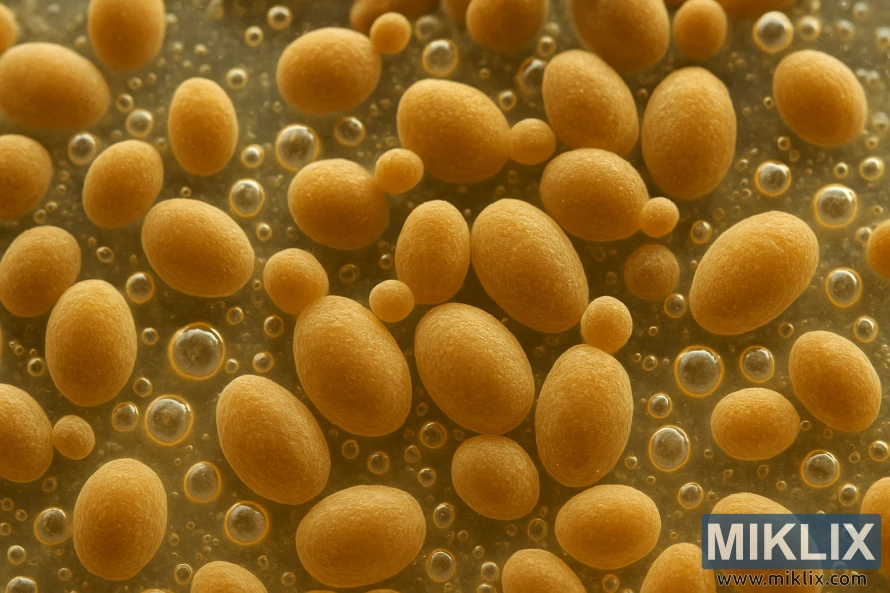
The Four Main Categories of Yeast Strains
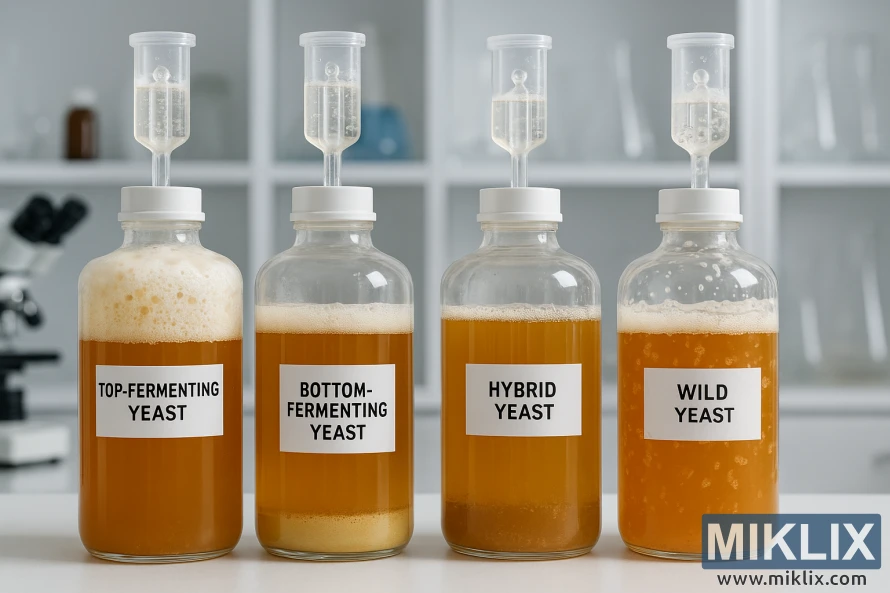
Yeast strains for brewing fall into four main categories, each with distinct characteristics that influence your beer's final taste and character. Understanding these categories is your first step toward selecting the right yeast for your brew.
Ale Yeasts (Top Fermenting)
Ale yeasts (Saccharomyces cerevisiae) are called "top fermenting" because they rise to the surface during fermentation. They work at warmer temperatures (60-75°F/15-24°C) and typically ferment faster than lager yeasts. Ale yeasts often produce fruity esters and other flavor compounds that contribute to the beer's character.
Lager Yeasts (Bottom Fermenting)
Lager yeasts (Saccharomyces pastorianus) work at the bottom of the fermenter and prefer cooler temperatures (45-55°F/7-13°C). They ferment more slowly and produce fewer esters, resulting in cleaner, crisper beers with more pronounced malt character. Lager yeasts typically have high flocculation, meaning they settle out well, producing clear beer.
Hybrid Yeasts
Hybrid yeasts combine characteristics of both ale and lager yeasts. They can ferment at a wide range of temperatures and offer brewers flexibility. The most famous example is the California Common (Steam Beer) yeast, which ferments at warmer temperatures like ale yeast but retains some lager characteristics.
Wild Yeasts and Bacteria
This category includes Brettanomyces ("Brett"), Lactobacillus, and other wild microorganisms. These create sour, funky, or otherwise distinctive flavors in styles like Belgian Lambics, American Wild Ales, and Sour Beers. Wild yeasts are more unpredictable and challenging to work with, making them better suited for brewers with some experience.
Popular Yeast Strains for Beginners
Now that you understand the main categories, let's look at some specific yeast strains that are popular among home brewers, especially beginners. These strains are chosen for their reliability, versatility, and forgiving nature.
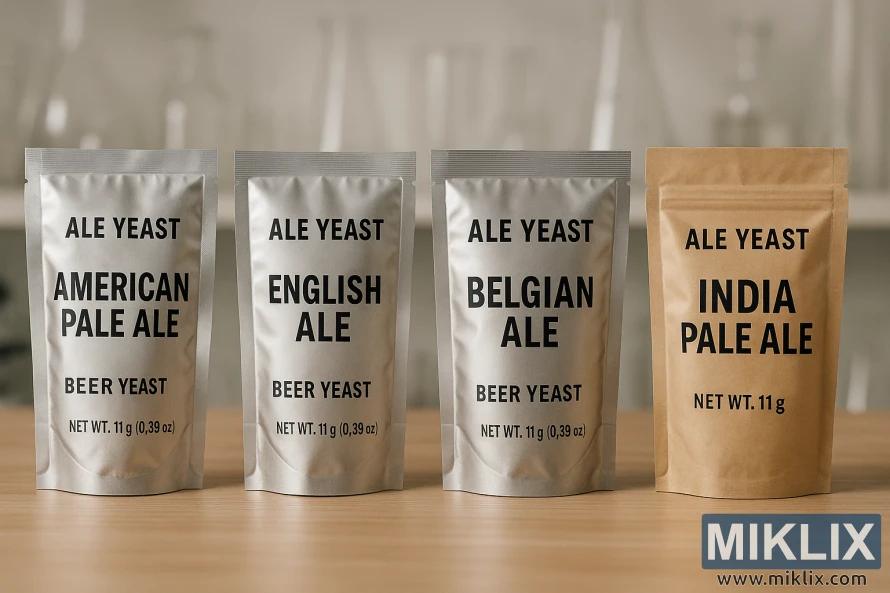
Popular Ale Yeast Strains
American Ale Yeast
Flavor Profile: Clean, neutral, with minimal esters
Best For: American Pale Ales, IPAs, Amber Ales
Why Beginners Love It: Extremely forgiving, works in a wide temperature range, and produces consistent results even with some process variations.
English Ale Yeast
Flavor Profile: Mildly fruity with a slight mineral character
Best For: English Bitters, Porters, Stouts
Why Beginners Love It: Fast fermenter with high flocculation, producing clear beer with minimal effort.
Belgian Saison Yeast
Flavor Profile: Spicy, peppery, with fruity notes
Best For: Saisons, Farmhouse Ales, Belgian Ales
Why Beginners Love It: Tolerates high temperatures, perfect for summer brewing without temperature control.
Popular Lager Yeast Strains
German Lager
Flavor Profile: Clean, malty, with subtle sulfur notes that age out
Best For: German Pilsners, Helles, Märzen
Why Beginners Love It: More forgiving than many lager yeasts, can ferment at the warmer end of lager temperatures.
California Lager
Flavor Profile: Clean with a slight fruitiness
Best For: California Common, American Lagers
Why Beginners Love It: Ferments at ale temperatures while producing lager-like beers, perfect for those without temperature control.
Czech Pilsner Yeast
Flavor Profile: Clean, slightly malty, traditional pilsner character
Best For: Czech Pilsners, European Lagers
Why Beginners Love It: Creates authentic European lager flavors, though requires good temperature control.
Hybrid and Wild Yeast Options
Kveik Yeast
Flavor Profile: Varies by strain, often citrusy or tropical
Best For: IPAs, Pale Ales, Farmhouse styles
Why Beginners Love It: Extremely temperature tolerant (can ferment at 70-100°F/21-38°C), fast fermenter, and produces clean beers even at high temperatures.
Brettanomyces (For Adventurous Beginners)
Flavor Profile: Funky, fruity, barnyard, leather, tropical
Best For: Belgian styles, American Wild Ales
Why Some Beginners Try It: Can be used in small amounts with regular yeast to add complexity without overwhelming funkiness.
How to Choose the Right Yeast for Your Beer Style
Selecting the right yeast strain is crucial for achieving your desired beer style. Here are some practical tips to help you make the best choice for your brewing project:
Match yeast to beer style: Research traditional yeast pairings for the style you want to brew. An English Bitter needs an English ale yeast, while a German Pilsner requires a German lager yeast.
Consider your equipment: If you don't have temperature control, stick with ale yeasts or temperature-tolerant strains like Kveik that perform well at room temperature.
Think about fermentation time: Lagers typically need 4-8 weeks to ferment and condition properly, while ales can be ready in 2-3 weeks. Choose based on your patience level.
Assess your experience level: As a beginner, start with forgiving strains like US-05 or S-04 before attempting more challenging yeasts.
Consider flavor contributions: If you want a clean, hop-forward IPA, choose a neutral yeast. If you want a fruity, estery Belgian ale, select a yeast that provides those characteristics.
Yeast Types Comparison Table
This comparison table provides a quick reference to help you understand the key differences between yeast types and make informed decisions for your brewing projects.
| Yeast Type | Fermentation Temperature | Flavor Characteristics | Best Beer Styles | Fermentation Time |
| Ale Yeast | 60-75°F (15-24°C) | Fruity esters, varied character based on strain | Pale Ales, IPAs, Stouts, Porters, Wheat Beers | 1-3 weeks |
| Lager Yeast | 45-55°F (7-13°C) | Clean, crisp, malt-forward, minimal esters | Pilsners, Helles, Märzen, Bocks | 3-8 weeks |
| Hybrid Yeast | 55-65°F (13-18°C) | Balanced between ale and lager characteristics | California Common, Altbier, Kölsch | 2-3 weeks |
| Kveik Yeast | 70-100°F (21-38°C) | Varies by strain, often citrusy or tropical | IPAs, Farmhouse Ales, Norwegian styles | 2-4 days |
| Wild Yeast | 65-85°F (18-29°C) | Funky, sour, barnyard, tropical, complex | Lambics, American Wild Ales, Sour Beers | Months to years |
Yeast Storage and Handling for Beginners
Proper storage and handling of yeast are essential for successful fermentation. Follow these simple guidelines to keep your yeast healthy and ready to brew:
Dry Yeast Storage
Store unopened packets in the refrigerator (ideal) or in a cool, dark place.
Check the expiration date before using.
Dry yeast can typically last 1-2 years when stored properly.
Once opened, use immediately for best results.
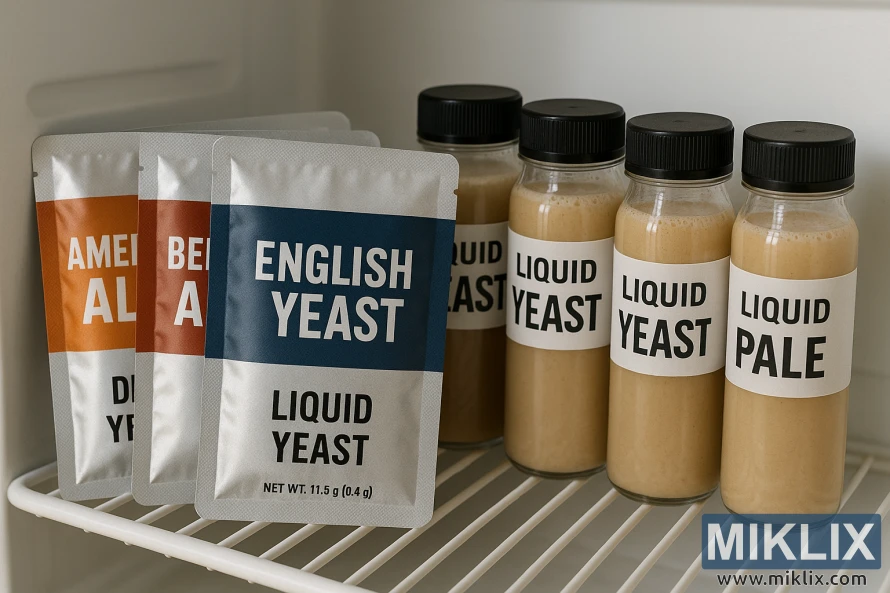
Liquid Yeast Storage
Always store in the refrigerator (35-40°F/2-4°C).
Use within the manufacturer's recommended timeframe (typically 3-6 months).
Allow to warm to room temperature before pitching.
Check for signs of activity or swelling before use.
Handling Tips for Beginners
Sanitize everything: Yeast is sensitive to contamination. Sanitize all equipment that will come in contact with your yeast.
Proper pitching: For dry yeast, rehydrating in warm water (95-105°F/35-40°C) for 15 minutes before pitching can improve viability, though many brewers pitch directly.
Pitch rate matters: As a general rule, use one packet of dry yeast or one vial/smack pack of liquid yeast per 5 gallons (19 liters) of standard-gravity beer (OG 1.060 or below).
Temperature shock: Avoid adding yeast to wort that's more than 15°F (8°C) different from the yeast's current temperature.
Yeast starters: For liquid yeast or high-gravity beers, consider making a yeast starter to increase cell count, though this is more advanced.
Think of yeast like a pet – it needs the right environment, food, and care to thrive. Treat it well, and it will reward you with delicious beer!
Conclusion
Understanding yeast strains is a fundamental step in your home brewing adventure. While it might seem complex at first, remember that even experienced brewers started as beginners. Start with forgiving yeast strains like US-05 or S-04, which offer excellent results even with some process variations.
As you gain experience, you can experiment with different yeast strains to create unique flavor profiles and explore various beer styles. The beauty of home brewing lies in this experimentation and the joy of creating something uniquely yours.
Remember, yeast is the unsung hero of your beer. It's not just an ingredient; it's a living organism that transforms your wort into beer. Treat it with respect, understand its needs, and it will reward you with delicious homebrew that you can proudly share with friends and family.
Further Reading
If you enjoyed this post, you may also like these suggestions:
- Fermenting Beer with CellarScience Cali Yeast
- Fermenting Beer with CellarScience Nectar Yeast
- Fermenting Beer with Lallemand LalBrew London Yeast
