Elden Ring: Rennala, Queen of the Full Moon (Raya Lucaria Academy) Boss Fight
Published: May 2, 2025 at 2:17:50 PM UTC
Last updated: February 5, 2026 at 3:00:13 PM UTC
Rennala, Queen of the Full Moon is in the highest tier of bosses in Elden Ring, Legendary Bosses, and is the main boss of the Raya Lucaria Academy legacy dungeon. Defeating her is optional in the sense that you don’t need to in order to advance the main story of the game, but after her defeat she will become an NPC that offers to re-spec your character, which may be very handy if that’s a service you require.
As you probably know, bosses in Elden Ring are divided into three tiers. From lowest to highest: Field Bosses, Greater Enemy Bosses and finally Demigods and Legends.
Rennala, Queen of the Full Moon is in the highest tier, Legendary Bosses, and is the main boss of the Raya Lucaria Academy legacy dungeon. Defeating her is optional in the sense that you don’t need to in order to advance the main story of the game, but after her defeat she will become an NPC that offers to re-spec your character, which may be very handy if that’s a service you require. Also, her room ties into several questlines, so having a hostile boss reside there is just not very practical ;-)
This fight has two phases, which is obviously annoying in itself, but the first phase is fortunately quite easy once you figure out what’s going on.
When you enter the room, you will notice the boss floating in the air in a large bubble. On the floor, there are multiple semi-paralyzed women crawling around, seemingly unable to use their legs. Or perhaps they don’t have any legs, it’s difficult to tell with their long gowns. Or perhaps they just feel the need to stay on their knees in your glorious presence, awestruck to be near the actual hero of the story. There are many possibilities, but I think I like the last one best ;-)
Anyway, the boss is levitating up high in the air and inside a bubble that I can confirm is highly effective at blocking arrows, so for now she’s not the primary target. She does occasionally attack with spells from up there though, so you can’t ignore her completely.
What you need to do here is find the crawling woman who is glowing and shooting flying books at you. It seems to be semi-random which one it is, although I felt like I noticed a slight pattern after a few attempts, so it’s probably not completely random. Once you have located the glowing one, you can just hit her once to make the glow (and book shooting) switch to another. You don’t need to kill her, just hit her once. In fact, it may be best not to kill her, because it appears that the glow is more likely to switch back to one who has already had it, so this may make it a bit more predictable.
The glow can shift to a crawling woman outside of the center area, so you may need to run around a bit and search for it. The flying books hitting you in the neck at high velocity should help you figure out her general direction, like some sort of painful compass.
While you run around, take care to avoid the other hazards in the room. The other crawling women will breathe fire at you, flaming chandeliers will fall from the ceiling, and the boss herself will occasionally shoot some sort of highly damaging medieval death ray at you. The latter will even penetrate the high bookcases, so stay on the move.
Once you have hit three of the glowing women, the boss will descend to the floor and her bubble will disappear, leaving her open for attack for a while, so make sure to lay some pain on her during this time. When she starts glowing, it’s because she’s about to explode, so make sure to move away and avoid the hit.
You need to repeat this cycle until you have depleted her health and phase one is complete.
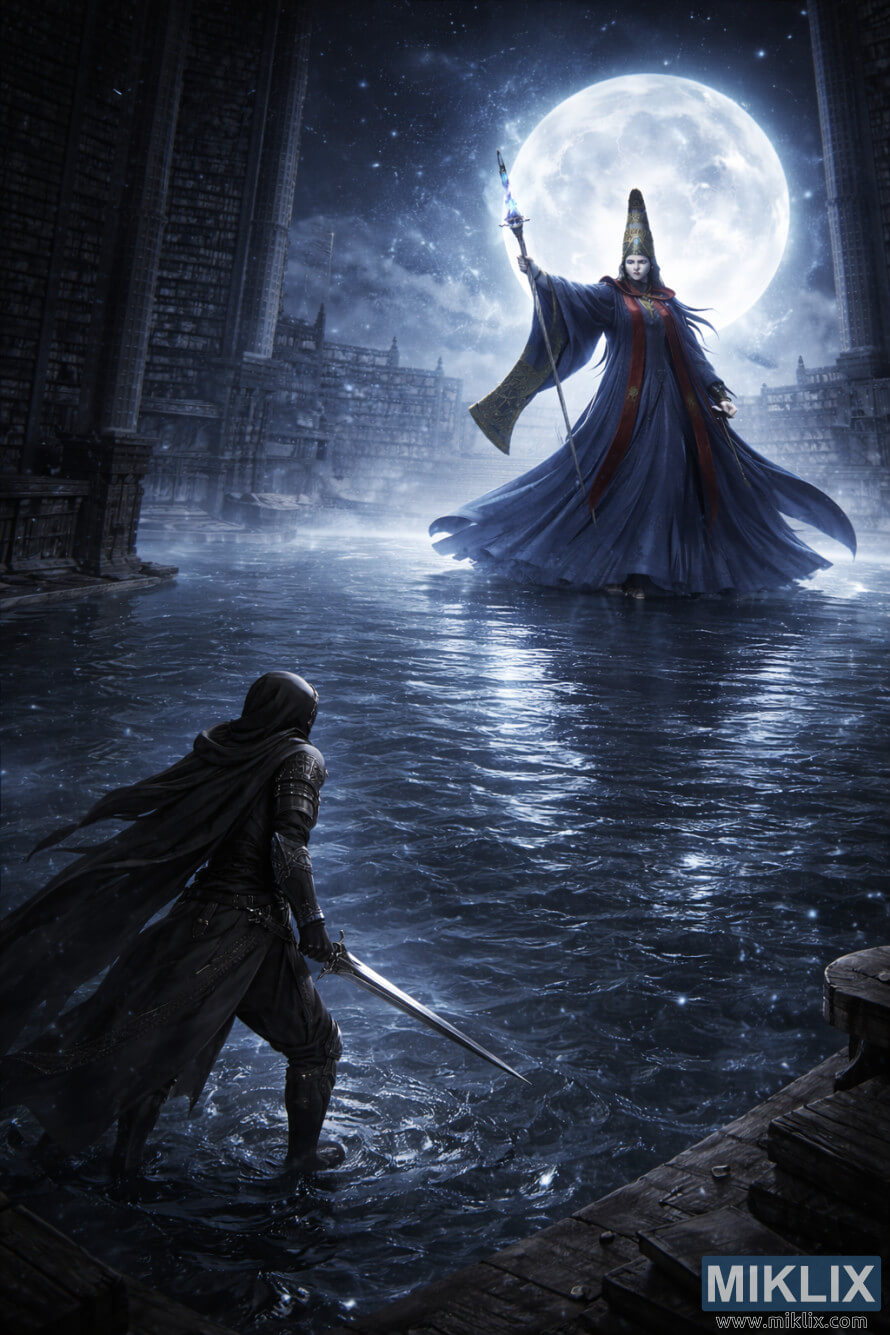
In phase two, the scenery changes completely, as you’re now facing the boss in the middle of what appears to be a large, shallow lake lit by moonlight. She will usually start the phase with proof that her death ray is still fully operational, so start moving sideways immediately.
She has many nasty tricks up her sleeve in phase two, and overall I found this phase much more difficult than phase one. She staggers easily, so hitting her with something fast can make her more manageable. I found the Uchigatana to be a highly effective weapon on her in both phases, much better than Patches’ old spear that I usually use, so perhaps it’s time for a more permanent switch.
For once, I also remembered that spirit ashes can be quite helpful, so I summoned the demi-humans in phase two, because although they’re weak individually, there are five of them, which is a lot of small hits on the boss. And also, I didn’t have enough focus to summon something better.
The boss herself will also summon help in the form of spirits. I found it best to just run away from them while avoiding the boss’s ranged attacks, as they will de-spawn after a few seconds, so fighting them would just add complication to the phase. Apparently, if you do kill her spirits, she will be unable to summon the same ones again, so if you find this easier, it may be a way to wear her down to a simpler fight by removing this ability. However, killing all of them in the few seconds they are present would take so extremely high damage output, that you would probably still be better off just nuking down the boss. In any case, I decided to opt for just avoiding them.
When you manage to complete phase two, you will learn that it wasn’t actually Rennala you fought there, but rather Ranni the Witch disguised as Rennala. That would also explain the change of scenery. Despite you killing Ranni in this fight, she will still be available for her questline and not particularly mad at you. Perhaps it was all an illusion, you never really know with these witch-type people ;-)
Apart from the new Site of Grace, there is also a shiny chest in the boss room, but you will not be able to open it yet. As far as I know, you will gain the key item for it during Ranni’s questline, so you will have to come back here later unless you have already done that.
As mentioned in the beginning of the video, the now much friendlier Rennala is now an NPC that offers to re-spec your character. Not for free, of course, she will only do it in exchange for the somewhat rare Larval Tears, so if you decide to change your build, make sure to choose wisely ;-)
[mlYouTubeLink]
Fan art inspired by this boss fight

Click or tap the image for more information and higher resolutions.

Click or tap the image for more information and higher resolutions.

Click or tap the image for more information and higher resolutions.

Click or tap the image for more information and higher resolutions.

Click or tap the image for more information and higher resolutions.

Click or tap the image for more information and higher resolutions.
Click or tap the image for more information and higher resolutions.

Click or tap the image for more information and higher resolutions.
Further Reading
If you enjoyed this post, you may also like these suggestions:
- Elden Ring: Tree Sentinel (First) (Hinterland) Boss Fight (SOTE)
- Elden Ring: Fia's Champions (Deeproot Depths) Boss Fight
- Elden Ring: Cemetery Shade (Tombsward Catacombs) Boss Fight
