Elden Ring: Astel, Naturalborn of the Void (Grand Cloister) Boss Fight
Published: July 20, 2025 at 10:59:48 PM UTC
Last updated: February 5, 2026 at 5:22:01 PM UTC
Astel, Naturalborn of the Void is in the highest tier of bosses in Elden Ring, Demigods and Legends, and is found in the underground lake called Grand Cloister, located after Lake of Rot. It is an optional boss in the sense that you do not need to kill it to advance the main story, but it is mandatory if you want to finish Ranni’s questline.
As you probably know, bosses in Elden Ring are divided into three tiers. From lowest to highest: Field Bosses, Greater Enemy Bosses and finally Demigods and Legends.
Astel, Naturalborn of the Void is in the highest tier, Demigods and Legends, and is found in the underground lake called Grand Cloister, found after Lake of Rot. It is an optional boss in the sense that you do not need to kill it to advance the main story, but it is mandatory if you want to finish Ranni’s questline.
If you are doing Ranni’s questline, you should make sure to pick up the Dark Moon Ring from the chest in the library at Raya Lucaria Academy before fighting this boss, as you will not be able to progress to Moonlight Altar without it. Of course, you could just pick it up later, but for the sake of efficiency, you might as well bring it with you. That also shows confidence and bosses hate that.
This is definitely one of the strangest looking bosses I have seen so far. It looks like some sort of celestial being, its long insect-like body circled by moon rings and apparently consisting of planets as well. Its head appears to be a giant hairy skull with a huge pair of mandible-like horns that it really really likes to pinch unwary Tarnished with.
This boss has a lot of nasty tricks, so many in fact that I was starting to suspect that it was trying to cheat or something. It will usually start the fight with a medieval laser beam that hurts quite a bit, so if you’re going to summon, wait until after this has been fired once.
It will also do some extremely long-range tail lashes that can hurt a lot but are fairly easy to dodge with some well-timed rolling.
If you try to melee it, it will often lift itself up into the air and do some sort of explosion that hurts a lot too, so try to gain some distance if you see it doing that.
At around half health, it will start launching some huge gravity orbs at you. Keep rolling or running sideways as fast as you can and they’re not horribly hard to avoid.
Sometimes, the boss will suddenly disappear, only to re-appear shortly after and continue the fight. When this happens, it usually either teleports some distance away and starts off with a laser beam or perhaps a tail lash, but sometimes it will reappear right on top of you and resume the fight with its most dangerous attack: it will grab you, put you into its mouth and eat you.
If you thought going through the digestive tract of a huge space insect would be good for your overall health, you would be wrong. In fact, if you’re caught by the grab, you’re dead. I found no way to avoid getting one-shot by this, but I don’t know for sure if it’s always a one-shot or if my health just isn’t high enough to survive it. No matter, one-shot mechanics are extremely annoying and cheap, so all is fair against bosses that have them.
In the end, I decided to go ranged against this guy, as it was often the melee attacks and area of effect explosion that would get me. Even when going ranged, the grab attack is highly dangerous as the boss may teleport right on top of you, but one reliable way I found to avoid it was to simply start sprinting in a random direction when the boss disappears. A couple of times in the video, you will see the boss’s arm grab after me while I’m sprinting, but just barely miss me. If I had not been sprinting at these points, it would have grabbed me and killed me.
You can also avoid the grab attack by rolling, I have done so myself on a couple of previous attempts, but considering how extremely dangerous it is, I found it better to use a more reliable approach and just running for my life as fast as I could seemed to work best.
Instead of my usual meat shield, Banished Knight Engvall, I ended up summoning Latenna the Albinauric for this fight. Engvall seemed to not be very good at tanking the boss. He would spend more time running around like a headless chicken than actually fighting and we all know that’s my job and Engvall has no business trying to take over that role.
If placed in a good spot, Latenna can do significant damage to the boss over the course of the fight. Just make sure to keep the boss’s attention as well as you can, as it can kill her very quickly if it focuses on her. As I usually use Engvall, I hadn’t leveled up Latenna very much, so her damage output is a bit underwhelming in this video, but still very helpful.
Also be aware that the arena you fight the boss in is so large that it is possible to drag it out of Latenna’s range. When that happened to me, I thought Latenna was dead or bugged since I could no longer see her blue arrows being fired, but then I realized the boss and I was close to the opposite side of the lake, so I started sprinting back to get the boss within her range again.
I don’t really know what the best spot to place Latenna is in this wide-open arena, so I just placed her right inside the fog door. That way it’s at least easier to see where she is if you get far away from her, so you know which direction to drag the boss. You know what, I actually think I’ll be confident in my decision and declare this spot the best spot.
The boss has quite a large health pool, so I decided to dig into my stash of Rotbone Arrows to infect it with Scarlet Rot, which was a fitting revenge for the Lake of Rot hellhole I had just gone through in order to get to the boss. It does take quite a few arrows to infect it and if you’re too far away it can be difficult to hit the boss fast enough reliably, so I suggest staying at medium range until you see the boss’s health start ticking away from the infection, then gain a bit more distance and keep firing regular arrows at it.
One infection wasn’t enough to kill it off completely, so I was trying to infect it again near the end. I would usually consider that a waste of Rotbone Arrows, but I was so fed up with this boss at this time that I just wanted it dead and over with.
Once the boss is finally dead, you will gain access to the Moonlight Altar area, which is the South-Western part of Liurnia of the Lakes. If the passage is blocked, you will need to go to the library in Raya Lucaria Academy and get the Dark Moon Ring from the chest there, assuming you have progressed Ranni’s questline far enough to do so.
And as usual, now for some boring details about my character. I play as a mostly Dexterity build. My melee weapon is the Guardian’s Swordspear with Keen affinity and Sacred Blade Ash of War. My ranged weapons are the Longbow and the Shortbow. I was rune level 97 when this video was recorded. I’m not really sure if that is generally considered appropriate, but the difficulty of the game seems reasonable to me – I want the sweet spot that isn’t mind-numbing easy-mode, but also not so difficult that I’ll be stuck on the same boss for hours ;-)
[mlYouTubeLink]
Fan art inspired by this boss fight
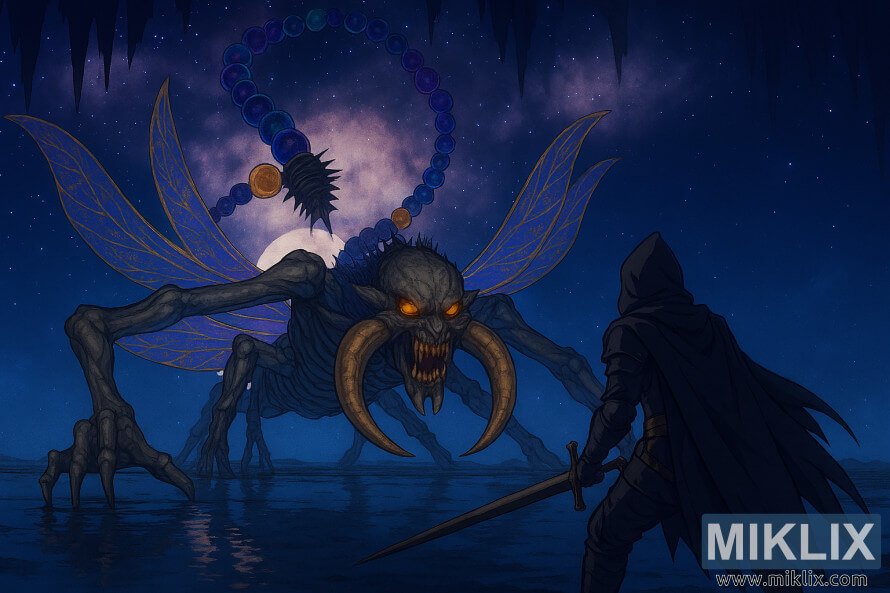
Click or tap the image for more information and higher resolutions.
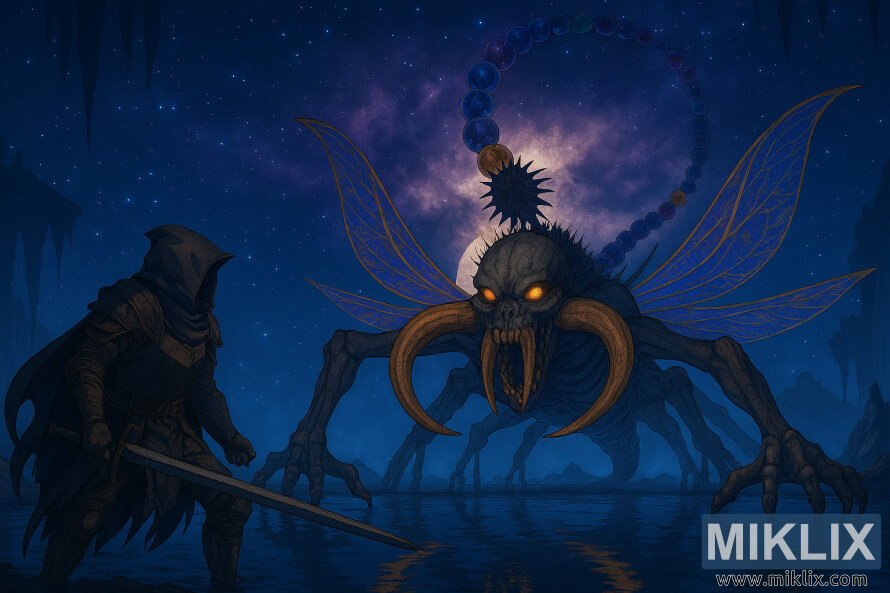
Click or tap the image for more information and higher resolutions.
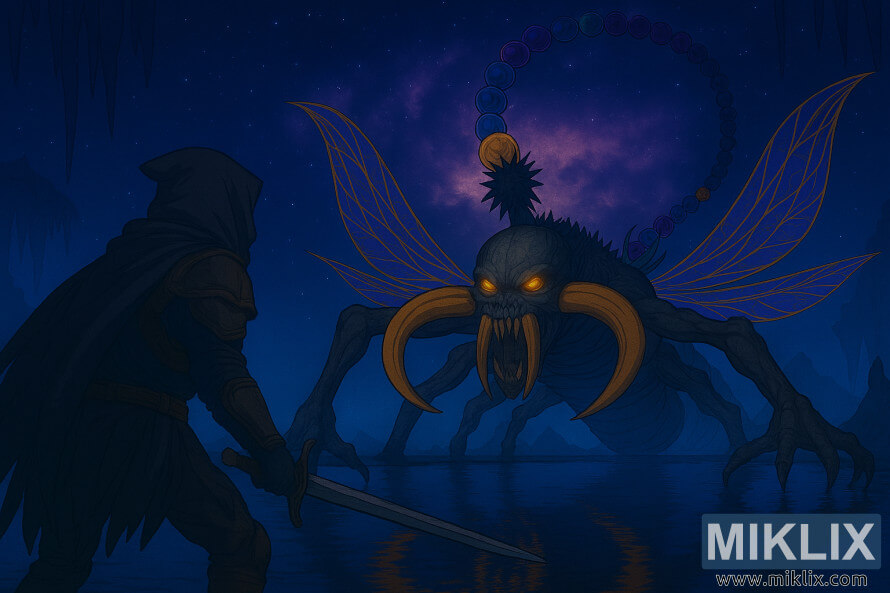
Click or tap the image for more information and higher resolutions.
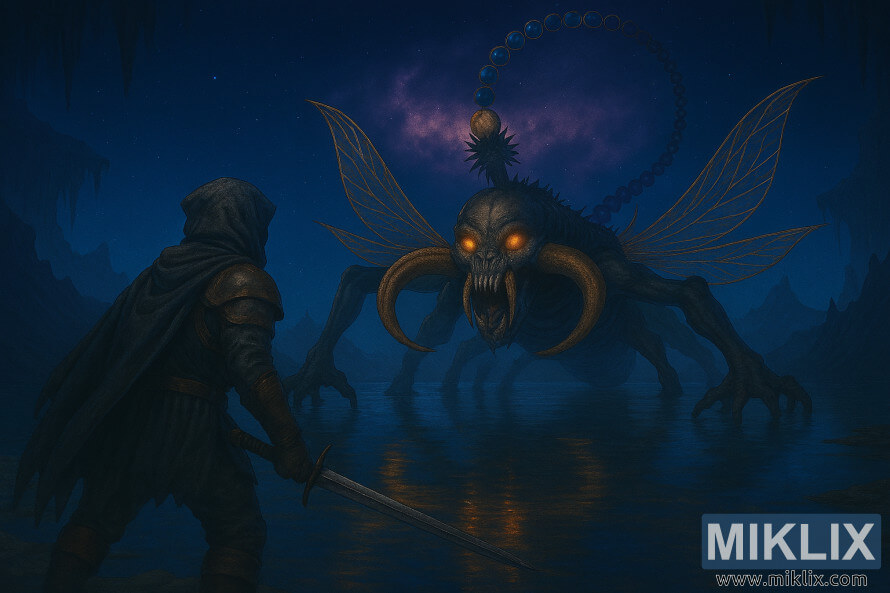
Click or tap the image for more information and higher resolutions.
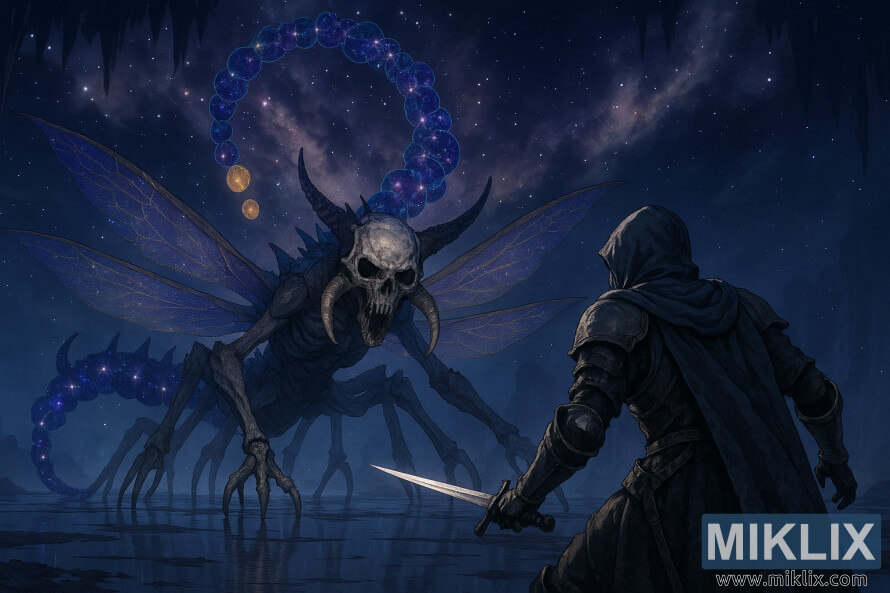
Click or tap the image for more information and higher resolutions.
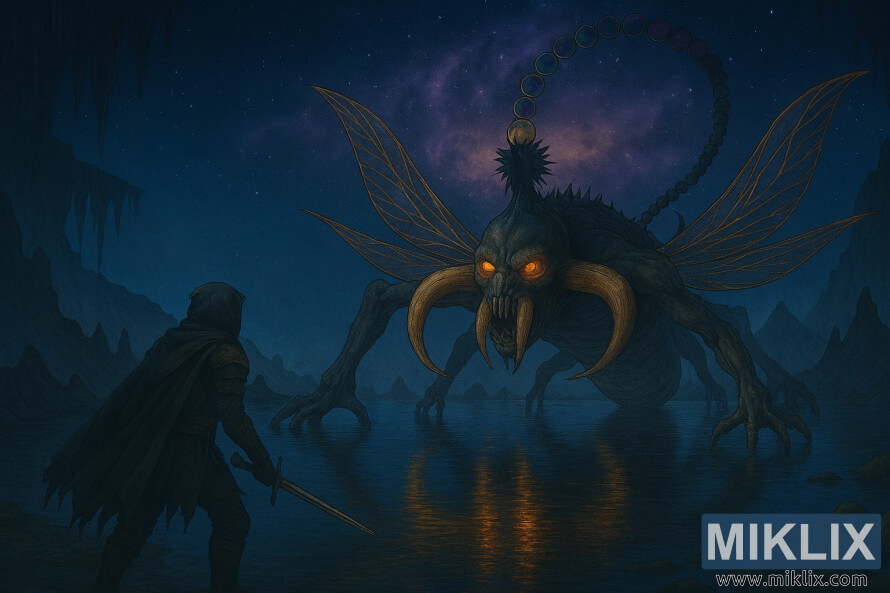
Click or tap the image for more information and higher resolutions.
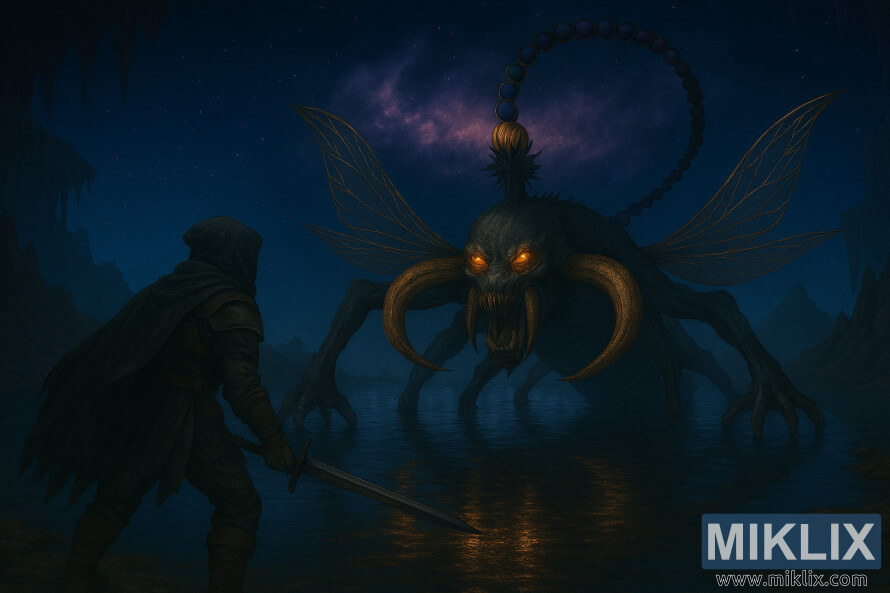
Click or tap the image for more information and higher resolutions.
Further Reading
If you enjoyed this post, you may also like these suggestions:
- Elden Ring: Grave Warden Duelist (Auriza Side Tomb) Boss Fight
- Elden Ring: Grave Warden Duelist (Murkwater Catacombs) Boss Fight
- Elden Ring: Decaying Ekzykes (Caelid) Boss Fight - BUGGED
