A Guide to Growing the Best Elderberries in Your Garden
Published: November 11, 2025 at 9:12:17 PM UTC
Elderberries are versatile, nutrient-rich plants that have been valued for centuries for their medicinal properties, culinary uses, and ornamental beauty. With their clusters of delicate white flowers in summer and deep purple-black berries in fall, elderberry shrubs make a stunning addition to any garden while providing a bountiful harvest of superfruit.
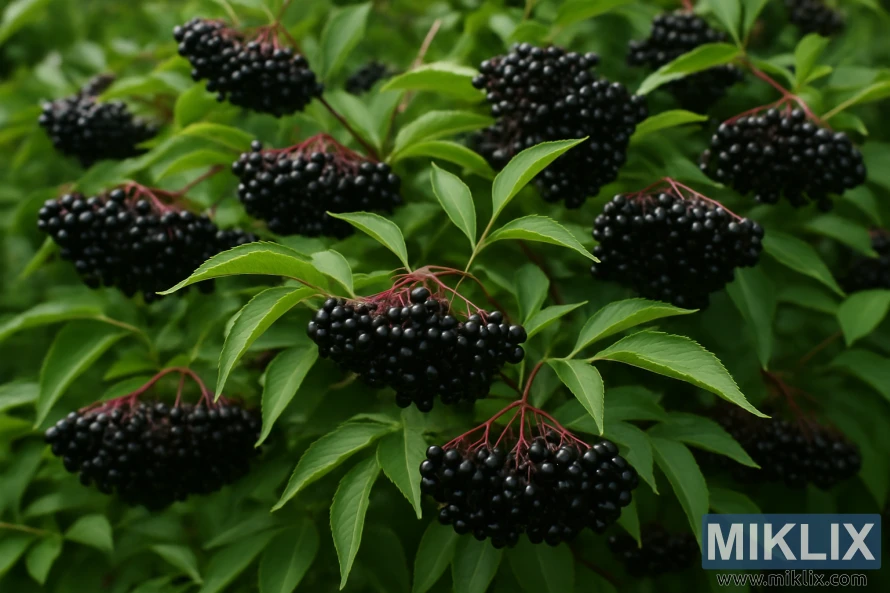
This comprehensive guide will walk you through everything you need to know about growing healthy, productive elderberry plants in your home garden.
Benefits and Uses of Elderberries
Before diving into growing techniques, let's explore why elderberries deserve a place in your garden. These remarkable berries are packed with vitamins A and C, phosphorus, potassium, and iron. They're also rich in antioxidants and have immune-supporting properties that have made them popular in traditional medicine.
Culinary Uses
Elderberries have a unique flavor profile—slightly tart with earthy undertones and a subtle bitter finish. When properly prepared, they make excellent:
- Jams, jellies, and preserves
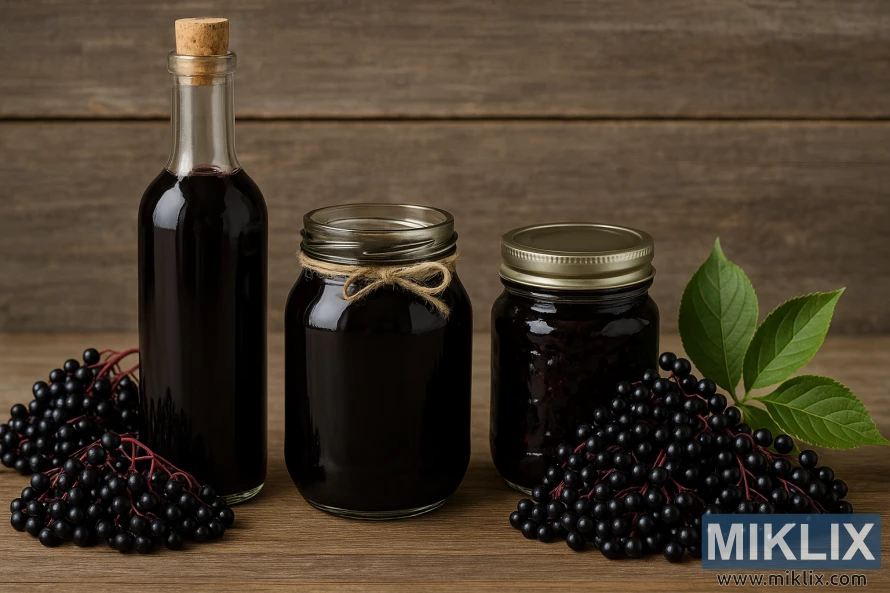
- Syrups for pancakes or medicinal use
- Wines and cordials
- Pies and other baked goods
- Natural food coloring
Important: Raw elderberries contain cyanogenic glycosides that can cause nausea. Always cook elderberries thoroughly before consumption to neutralize these compounds.
Landscape and Ecological Value
Beyond their edible benefits, elderberry shrubs offer:
- Beautiful white flower clusters in early summer
- Attractive foliage throughout the growing season
- Habitat and food for beneficial wildlife
- Natural hedgerows and privacy screens
- Erosion control in wet areas
Elderberry plants are also relatively low-maintenance once established, making them perfect for gardeners of all experience levels.
Best Elderberry Varieties for Home Gardens
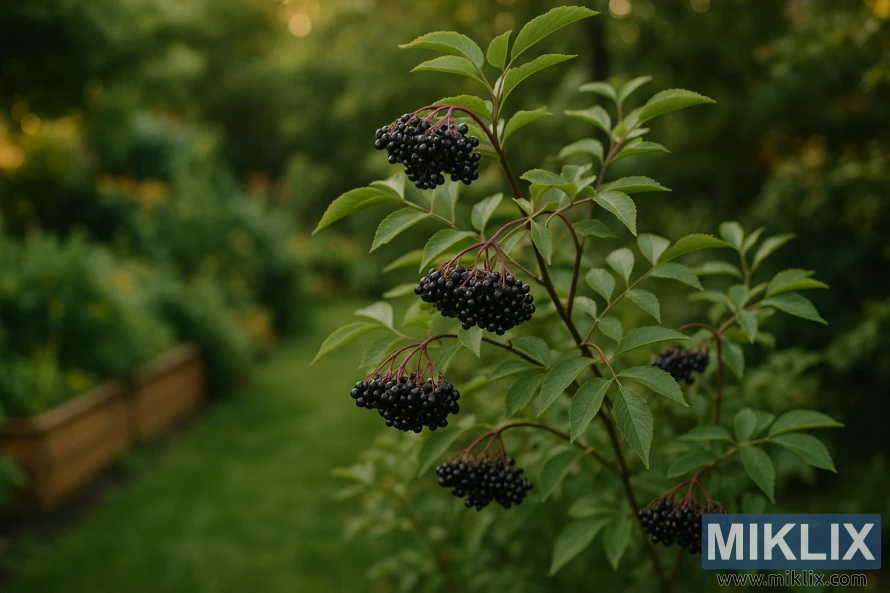
There are two main types of elderberries commonly grown in home gardens: American elderberry (Sambucus canadensis) and European elderberry (Sambucus nigra). American elderberries are generally more cold-hardy and better suited for North American gardens, while European varieties are often grown for their ornamental qualities.
American Elderberry Varieties
- 'Adams' - Reliable producer with large fruit clusters and vigorous growth. Excellent for jams and jellies.
- 'York' - Produces exceptionally large berries on plants reaching about 6 feet tall. Great for fresh use.
- 'Nova' - Early ripening variety with large fruits that make sweet, dark red juice.
- 'Bob Gordon' - Midwest-adapted variety with abundant crops and medium-sized berries. Excellent productivity.
- 'Wyldewood' - Vigorous grower with high yields, well-adapted to various growing conditions.
European Elderberry Varieties
- 'Black Lace' - Stunning dark purple-black foliage with pink flowers. Dual-purpose ornamental and fruiting variety.
- 'Black Beauty' - Similar to 'Black Lace' with deep purple leaves and pink flowers. Makes a bold landscape statement.
- 'Lemony Lace' - Features bright golden-yellow foliage that adds vibrant color to the garden.
Note: European varieties fruit on second-year wood, while American varieties produce on new growth. This affects pruning strategies.
Pollination Requirements
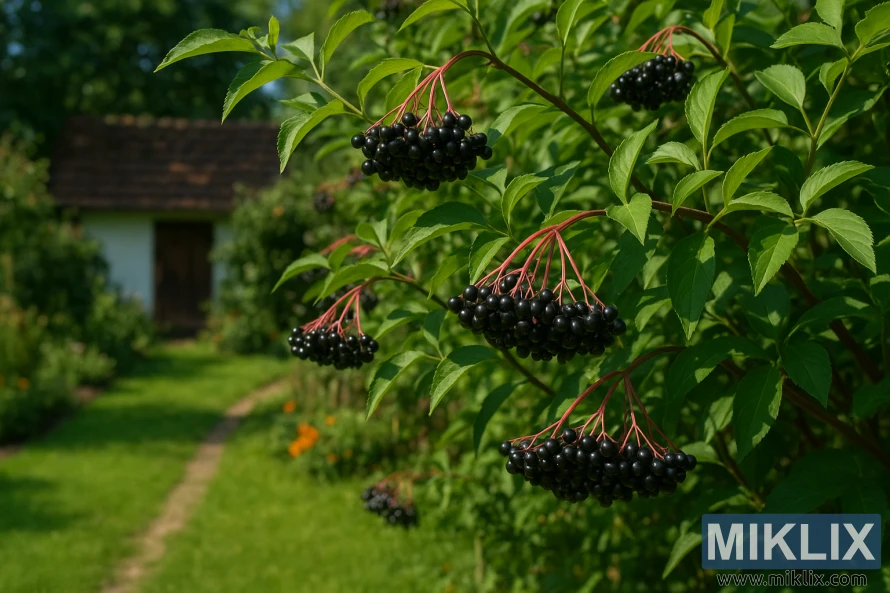
While some elderberry varieties are self-pollinating, planting at least two different compatible varieties will significantly improve fruit set and yield. For best results:
- Plant at least two different American elderberry varieties within 60 feet of each other
- Good combinations include 'Adams' with 'York' or 'Bob Gordon' with 'Wyldewood'
- European varieties should be paired with other European types
Climate and Soil Requirements for Growing Elderberries
Elderberries are adaptable plants that can thrive in a variety of conditions, but understanding their ideal growing environment will help you achieve the best results.
Climate Considerations
Elderberries are cold-hardy plants that grow well in USDA hardiness zones 3-9, making them suitable for most of North America. They require:
- A minimum of 6-8 hours of sunlight daily for optimal fruit production
- Some afternoon shade in hotter climates to prevent leaf scorch
- Protection from strong winds that can damage the relatively brittle branches
- A minimum of 120 frost-free days to properly ripen fruit
In their natural habitat, elderberries often grow at forest edges or in partially shaded areas, but they'll produce more fruit in sunnier locations in your garden.
Soil Requirements
Elderberries prefer moist, well-draining soil with plenty of organic matter. Ideal conditions include:
- Slightly acidic soil with a pH between 5.5 and 6.5
- Rich, loamy soil with good moisture retention
- Good drainage to prevent root rot (avoid persistently soggy areas)
- High organic matter content to support healthy growth
While elderberries can tolerate a range of soil conditions, they won't thrive in extremely sandy soils or heavy clay without amendments. If your soil is less than ideal, consider building raised beds or amending with compost.
Soil Testing Tip: Before planting elderberries, conduct a soil test to determine your soil's pH and nutrient levels. Most county extension offices offer affordable soil testing services that will provide specific amendment recommendations for growing elderberries in your area.
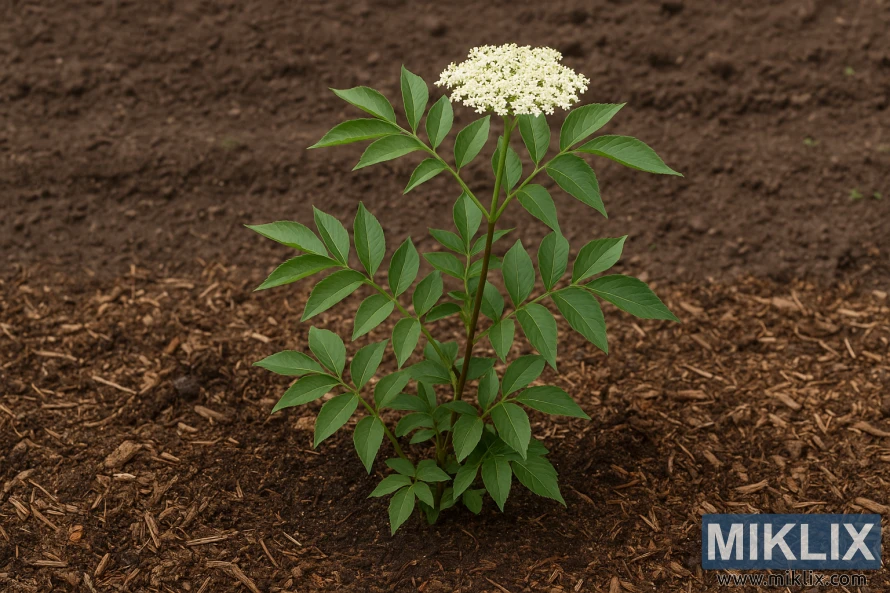
Step-by-Step Elderberry Planting Guide
Proper planting is crucial for establishing healthy, productive elderberry plants. Follow these detailed steps for the best results.
When to Plant Elderberries
The ideal planting time depends on your climate and the type of elderberry stock you're using:
- Spring planting - Best for most regions, plant after the danger of frost has passed
- Fall planting - Suitable in milder climates, plant 6 weeks before the first expected frost
- Bare-root plants - Plant as soon as soil can be worked in early spring
- Potted plants - Can be planted throughout the growing season with proper care
Planting Preparation
- Site selection - Choose a location with adequate sunlight and good air circulation
- Soil preparation - Remove weeds and amend soil with compost or aged manure
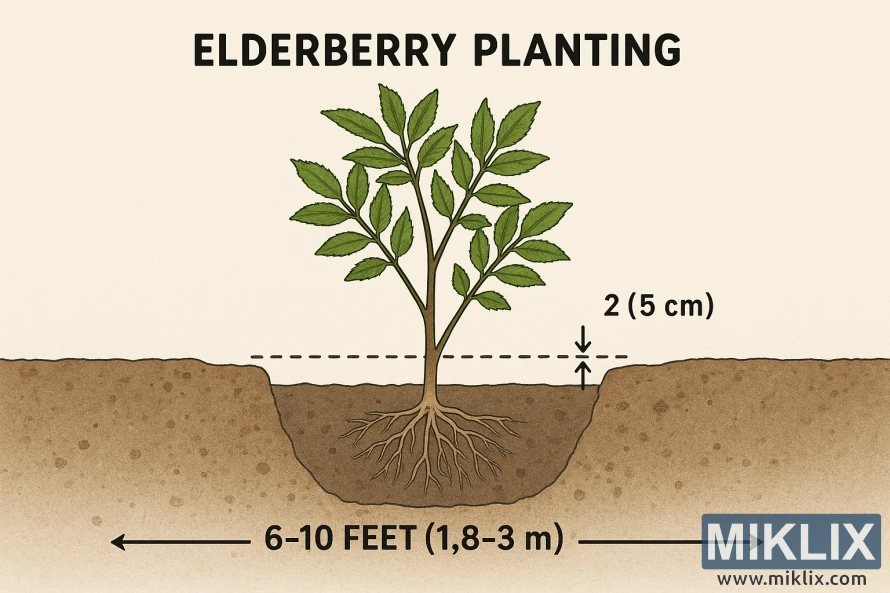
- Spacing planning - Mark planting spots with 6-8 feet between plants and 10-12 feet between rows
- Pre-planting care - Soak bare-root plants for 12-24 hours before planting; water potted plants thoroughly
Planting Process
- Dig a hole twice as wide as the root ball and slightly deeper than the container or root system
- Create a small mound of soil in the center of the hole to support the plant
- Position the elderberry plant 1-2 inches deeper than it was growing in its nursery pot
- For bare-root plants, spread the roots evenly over the soil mound
- Backfill the hole halfway with soil, then water thoroughly to eliminate air pockets
- Complete filling the hole with soil and firm gently around the plant
- Create a small basin around the plant to help retain water
- Apply a 2-3 inch layer of organic mulch around the plant, keeping it a few inches away from the stems
- Water deeply to settle the soil and give the new plant a good start
First-Year Care Tip: Remove all flower clusters during the first growing season to encourage the plant to focus energy on establishing a strong root system rather than producing fruit.
Watering, Fertilizing, and Maintenance Schedule
Elderberries require regular care to produce abundant harvests. Follow this seasonal maintenance schedule to keep your plants healthy and productive.
| Season | Watering | Fertilizing | Maintenance Tasks |
| Spring | 1-2 inches weekly as growth begins | Apply balanced organic fertilizer or compost | Pruning, mulch renewal, weed control |
| Summer | 1-2 inches weekly, more during drought | None needed | Weed control, pest monitoring, support for heavy fruit clusters |
| Fall | Reduce as growth slows | None needed | Harvest berries, clean up fallen leaves |
| Winter | None unless unusually dry | None needed | Winter protection in extreme climates |
Watering Guidelines
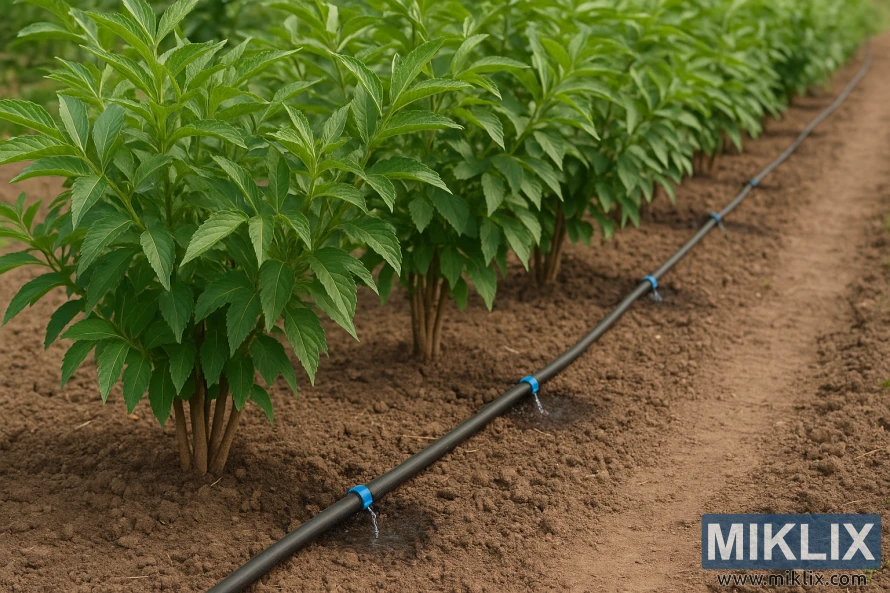
Elderberries have shallow root systems and prefer consistently moist soil. Proper watering is especially important during the first two years after planting.
- Provide 1-2 inches of water weekly, including rainfall
- Water deeply to encourage deep root development
- Increase watering during hot, dry periods
- Mulch helps retain soil moisture and reduce watering needs
- Established plants (3+ years) may only need supplemental water during drought
Fertilizing Recommendations
Elderberries are not heavy feeders but benefit from annual fertilization to maintain productivity.
- Apply a balanced organic fertilizer (like 10-10-10) in early spring as growth begins
- For established plants, use about 1/2 cup per plant or follow package directions
- Alternatively, apply 1-2 inches of compost around the base of plants
- Avoid high-nitrogen fertilizers that promote leafy growth at the expense of fruit
- Do not fertilize newly planted elderberries until 4-6 weeks after planting
Mulching and Weed Control
Maintaining a weed-free zone around elderberries is essential for optimal growth.
- Apply 2-3 inches of organic mulch (wood chips, straw, or bark) around plants
- Keep mulch a few inches away from stems to prevent rot
- Refresh mulch annually in spring
- Hand pull weeds that emerge through mulch
- Avoid landscape fabric, as it can prevent beneficial new shoots from emerging
Pruning Techniques for Optimal Elderberry Growth
Proper pruning is essential for maintaining healthy, productive elderberry plants. The pruning approach differs between American and European elderberry varieties due to their different fruiting habits.
Pruning American Elderberries
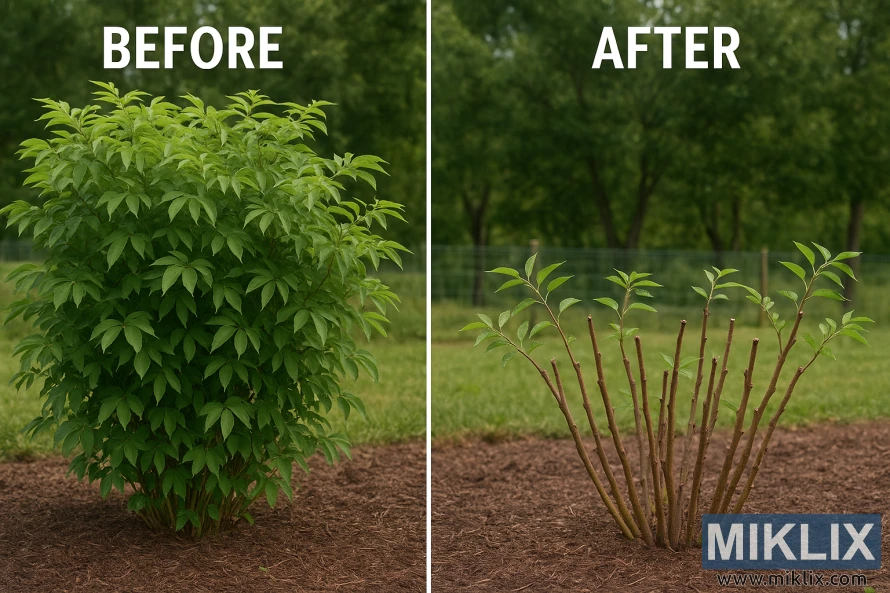
American elderberries (Sambucus canadensis) fruit on new wood, meaning they produce berries on the current season's growth.
- When to prune: Late winter to early spring before new growth begins
- Simplest method: Cut all stems to the ground annually with loppers or pruners
- Benefits: Promotes vigorous new growth, simplifies harvest, reduces disease issues
- Alternative approach: Remove only the oldest stems (3+ years old) and weak or damaged growth
The complete cutback method is recommended for American elderberries as it results in more consistent fruiting and easier harvesting.
Pruning European Elderberries
European elderberries (Sambucus nigra) fruit on second-year wood, so they require a different pruning approach.
- When to prune: After fruiting in late fall or in early spring
- Method: Remove only 1/3 of the oldest stems each year
- Focus on: Removing dead, damaged, or crossing branches
- Caution: Cutting all stems will result in no fruit the following season
For ornamental varieties like 'Black Lace', prune to maintain an attractive shape while preserving enough second-year wood for flowering and fruiting.
Pruning Tools and Techniques
Using the right tools and proper techniques ensures clean cuts that heal quickly.
- Use sharp, clean bypass pruners for stems up to 1/2 inch in diameter
- Use loppers for larger stems up to 2 inches in diameter
- For complete renewal pruning, a pruning saw or hedge trimmer may be useful
- Make cuts at a slight angle just above a bud or branch junction
- Disinfect tools between plants with a 10% bleach solution or alcohol to prevent disease spread
Common Pests and Diseases with Organic Solutions
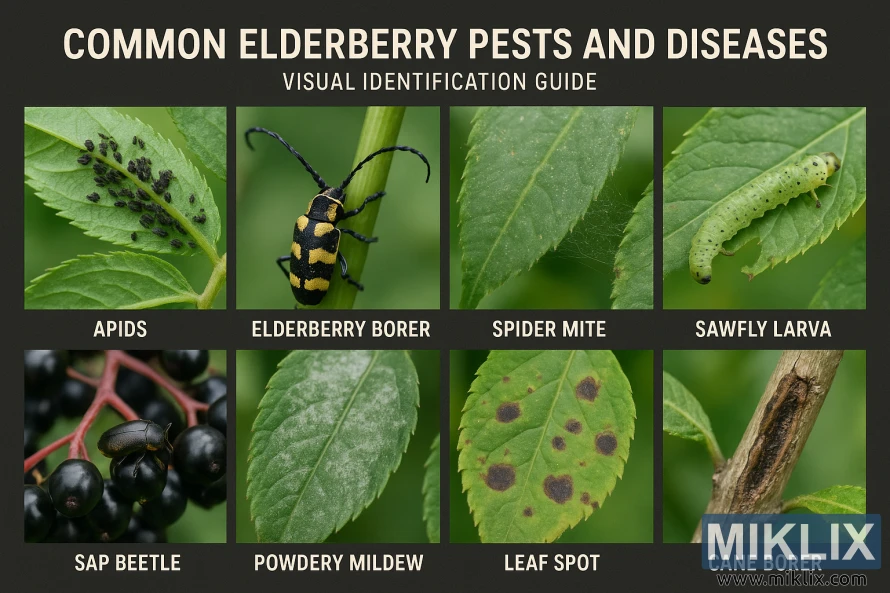
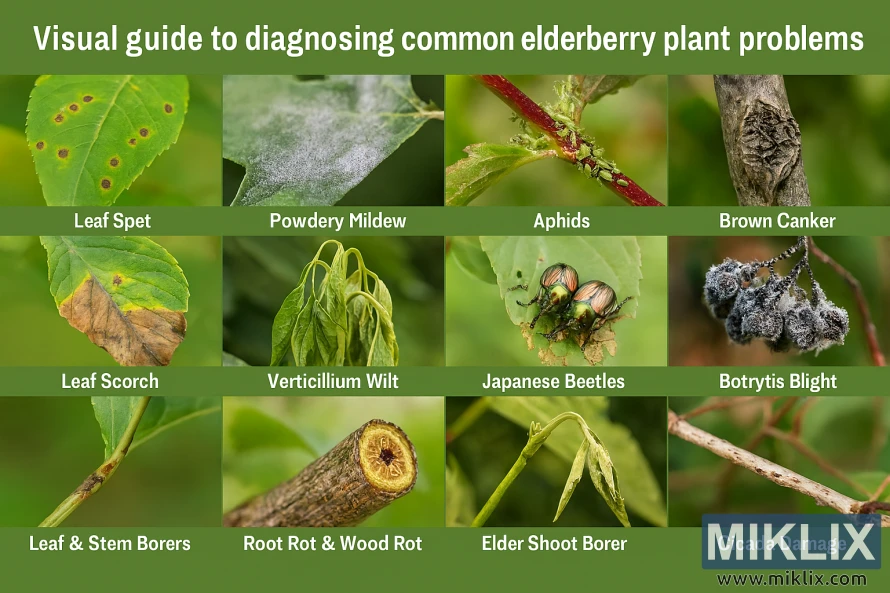
While elderberries are generally resilient plants, they can face certain challenges from pests and diseases. Here's how to identify and address common issues using organic methods.
Insect Pests
- Japanese Beetles - These metallic green beetles feed on leaves and flowers. Control with hand-picking, neem oil sprays, or beneficial nematodes in the soil.
- Aphids - Small sap-sucking insects that cluster on new growth. Control with strong water sprays, insecticidal soap, or by encouraging natural predators like ladybugs.
- Spotted Wing Drosophila - Fruit flies that lay eggs in ripening fruit. Harvest promptly, use organic spinosad sprays, or cover plants with fine mesh netting.
- Elderberry Borers - Insects that tunnel through stems. Prune and destroy affected canes, maintain plant vigor through proper care.
Diseases
- Powdery Mildew - White powdery coating on leaves. Improve air circulation through pruning, apply organic fungicides like potassium bicarbonate.
- Leaf Spot - Brown or black spots on foliage. Remove affected leaves, avoid overhead watering, apply organic copper fungicide if severe.
- Cankers - Sunken areas on stems that can girdle branches. Prune out affected areas, disinfect tools between cuts, improve growing conditions.
- Root Rot - Caused by poor drainage. Improve soil drainage, avoid overwatering, plant in raised beds if necessary.
Wildlife Management
- Birds - Will compete for ripe berries. Use bird netting, scare devices, or plant extra for sharing.
- Deer - May browse on new growth. Install deer fencing, use repellent sprays, or plant resistant companion plants nearby.
- Voles - Can damage roots. Install mesh guards around the base of plants, remove mulch in winter, encourage predators.
Remember that a diverse garden ecosystem with beneficial insects and good cultural practices is your best defense against pests and diseases.
Integrated Pest Management for Elderberries
The most effective approach to managing elderberry pests and diseases is through integrated pest management (IPM), which combines multiple strategies:
- Prevention - Select resistant varieties, maintain optimal growing conditions, practice good sanitation
- Monitoring - Regularly inspect plants for early signs of problems
- Identification - Correctly identify the specific pest or disease before treatment
- Cultural controls - Adjust watering, pruning, and other practices to discourage problems
- Physical controls - Use barriers, traps, or manual removal
- Biological controls - Introduce or encourage beneficial insects
- Organic sprays - Use as a last resort when other methods aren't sufficient
Harvesting Timeline and Methods
Knowing when and how to harvest elderberries ensures you'll get the best quality fruit for your culinary and medicinal preparations.
When to Harvest
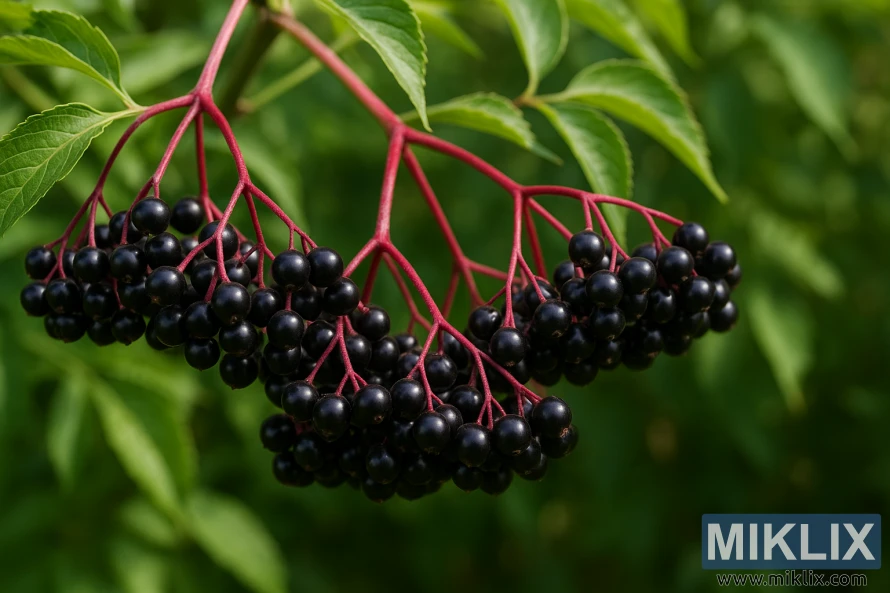
Elderberries typically ripen in late summer to early fall, depending on your climate and the specific variety.
- American elderberry varieties usually ripen from August to September
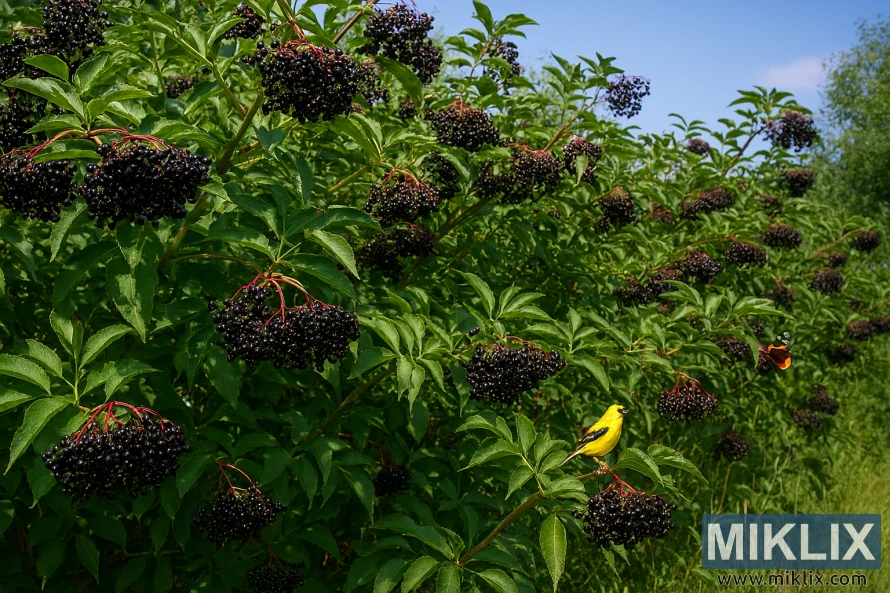
- Berries are ready when they turn deep purple to almost black
- The entire cluster (umbel) will droop downward when ripe
- Berries should be slightly soft but still firm
- Harvest promptly when ripe, as birds will quickly consume the berries
Harvesting Methods
The most efficient way to harvest elderberries is to cut entire fruit clusters from the plant.
- Use clean, sharp pruners or scissors to cut the stem below each berry cluster
- Collect clusters in a basket or bucket
- Harvest on a dry day when berries are free of moisture
- Work in the morning when temperatures are cooler
- Wear gloves to prevent purple staining of hands
Safety Reminder: Raw elderberries contain compounds that can cause nausea and digestive upset. Always cook elderberries thoroughly before consumption to neutralize these compounds. The stems, leaves, and unripe berries contain higher concentrations of these substances and should not be consumed.
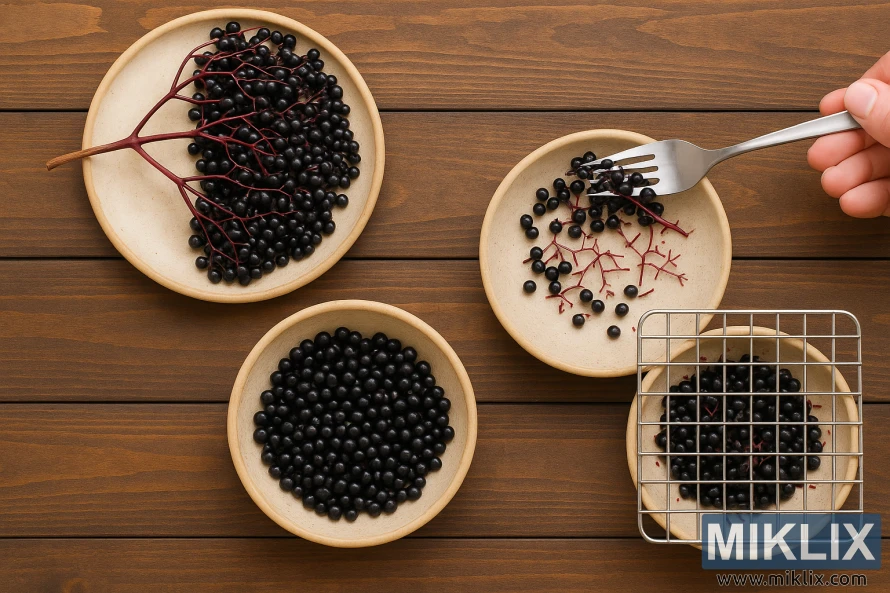
Separating Berries from Stems
After harvesting the clusters, you'll need to remove the berries from their stems before processing.
- Fork method - Use a fork to gently comb the berries off the stems
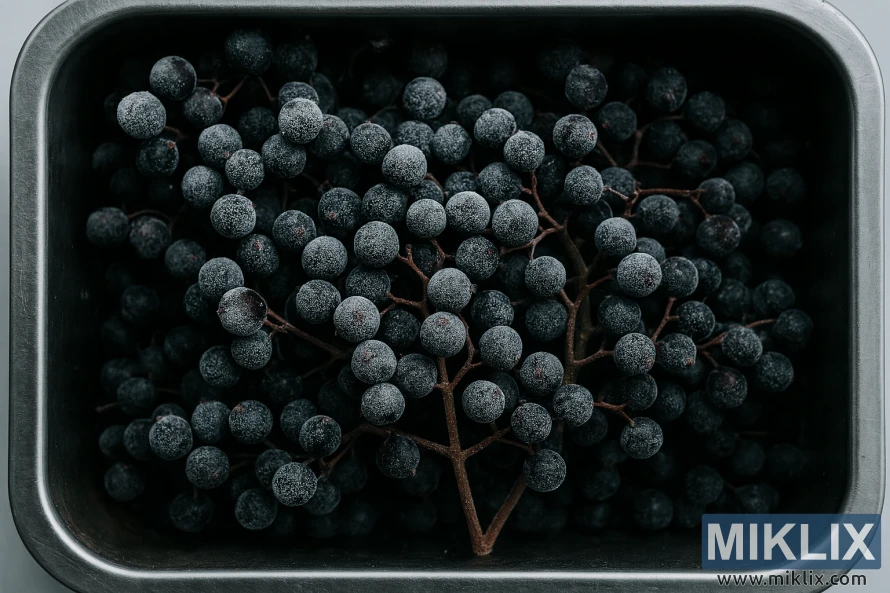
- Freezer method - Freeze the entire clusters, then gently rub the frozen berries off the stems
- Screen method - Use a stainless steel screen (1/2 to 5/8 inch hardware cloth) to separate berries from stems
Fresh elderberries don't store well and should be processed within 12-24 hours of harvesting for the best quality. If you can't process them immediately, refrigerate or freeze the berries.
Processing and Storing Elderberries
Once you've harvested your elderberries, proper processing and storage will help preserve their nutritional benefits and flavor for year-round use.
Freezing Elderberries
Freezing is the simplest preservation method and maintains most of the berries' nutritional value.
- Remove berries from stems
- Rinse gently in cold water
- Drain thoroughly
- Spread in a single layer on a baking sheet
- Freeze until solid (about 2 hours)
- Transfer to freezer bags or containers
- Label with date and contents
- Store for up to 12 months
Frozen elderberries can be used directly in recipes without thawing.
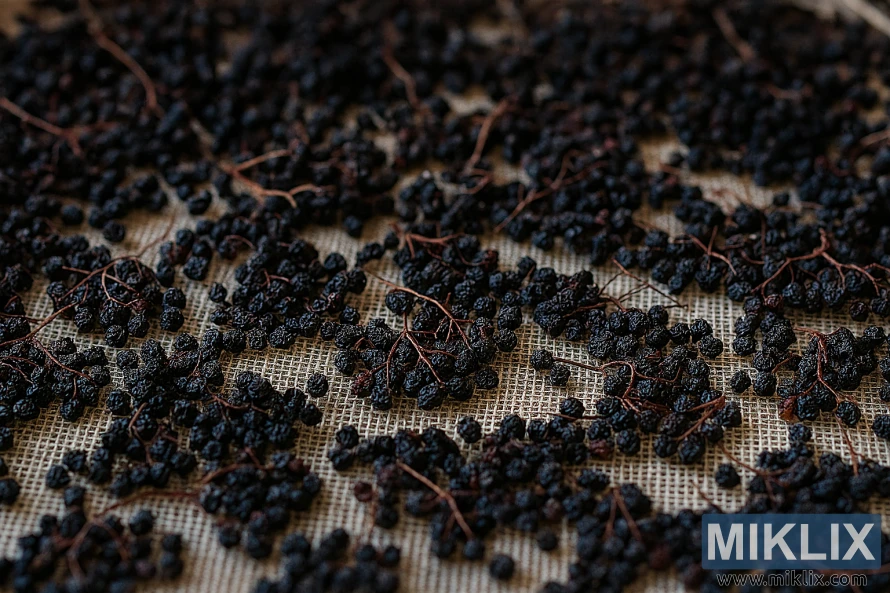
Drying Elderberries
Dried elderberries are perfect for teas, syrups, and long-term storage.
- Remove berries from stems
- Rinse and drain well
- Spread in a single layer on dehydrator trays
- Dry at 135°F (57°C) for 10-12 hours until berries are hard
- Alternatively, oven-dry at lowest setting with door cracked
- Store in airtight containers in a cool, dark place
- Use within 12 months for best quality
Properly dried berries should be hard and have a wrinkled appearance.
Making Elderberry Syrup
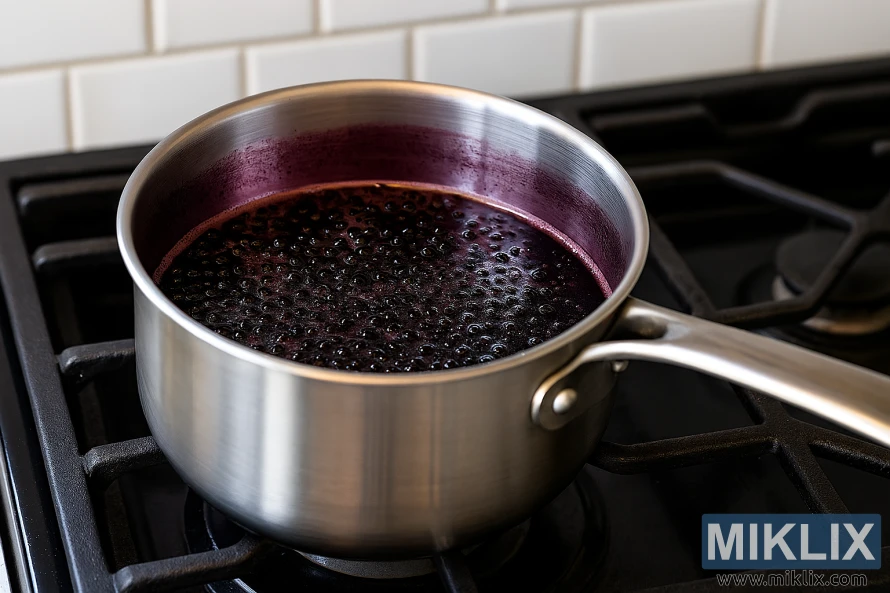
Elderberry syrup is a popular way to preserve the immune-supporting properties of the berries.
- Combine 2 cups berries with 4 cups water
- Bring to a boil, then reduce heat
- Simmer for 30-45 minutes until reduced by half
- Strain through a fine mesh sieve
- Add 1 cup honey (when cooled to below 110°F)
- Optional: add cinnamon, ginger, or cloves
- Store in the refrigerator for up to 3 months
For longer storage, process in a water bath canner or freeze in small portions.
Other Elderberry Products
Beyond basic preservation, elderberries can be transformed into a variety of delicious products:
- Elderberry jam or jelly - Cook with pectin and sugar for a spreadable treat
- Elderberry wine - Ferment with sugar and wine yeast
- Elderberry vinegar - Infuse apple cider vinegar with berries
- Elderberry tincture - Extract beneficial compounds in alcohol
- Elderberry pie filling - Cook with thickeners for baking
Troubleshooting Common Elderberry Growing Problems
Even with proper care, elderberry plants can sometimes develop issues. Here's how to identify and address common problems.
| Problem | Possible Causes | Solutions |
| Few or no flowers | Insufficient sunlight, improper pruning, young plants | Ensure 6+ hours of sun, adjust pruning timing, be patient with young plants |
| Flowers but no berries | Lack of pollinators, poor pollination weather, single variety | Plant pollinator-attracting flowers nearby, plant multiple elderberry varieties |
| Yellow leaves | Nutrient deficiency, overwatering, root issues | Test soil and amend as needed, improve drainage, check for root damage |
| Stunted growth | Poor soil, competition from weeds, insufficient water | Amend soil with compost, control weeds, ensure consistent moisture |
| Broken stems | Wind damage, heavy fruit load, brittle wood | Provide wind protection, support heavy fruit clusters, regular pruning |
| Excessive suckering | Natural growth habit, especially in American varieties | Regular removal of unwanted suckers, install root barriers |
When to Renovate or Replace Plants
Elderberry plants can remain productive for 10-15 years with proper care, but eventually, they may need renovation or replacement.
- Consider renovation if plants show declining vigor or reduced fruit production
- Complete renovation involves cutting all stems to the ground in early spring
- Replace plants that show signs of systemic disease or severe pest infestation
- Rotate planting locations if possible when replacing elderberries
Expert Tip: Keep a garden journal to track your elderberry plants' performance year to year. Note flowering and fruiting times, harvest quantities, and any problems that arise. This information will help you fine-tune your care routine and identify patterns that might indicate the need for changes in your approach.
Conclusion: Enjoying Your Elderberry Harvest
Growing elderberries can be a rewarding experience that provides beautiful landscaping, wildlife habitat, and a bountiful harvest of nutritious berries. By following the guidelines in this comprehensive guide, you'll be well on your way to successfully growing elderberries in your home garden.
Remember that elderberries are adaptable plants that have been grown for generations. Don't be afraid to experiment and adjust your approach based on your specific growing conditions and the needs of your plants. With proper care and attention, your elderberry bushes will provide years of beauty and harvests.
Whether you're making traditional elderberry syrup, experimenting with wines and jellies, or simply enjoying the birds that visit your garden for the berries, growing elderberries connects you to a rich cultural and ecological tradition. Happy growing!
Further Reading
If you enjoyed this post, you may also like these suggestions:
- Growing Apricots: A Guide to Sweet Homegrown Fruit
- A Guide to Growing Cantaloupes in Your Own Garden
- A Guide to Growing Alfalfa Sprouts at Home
